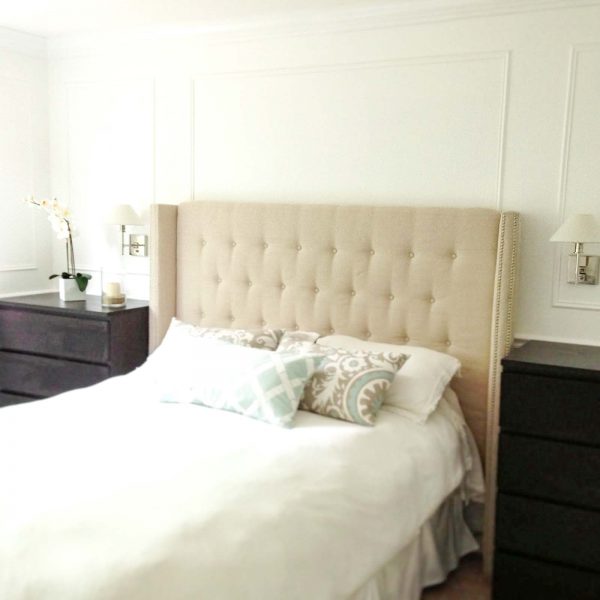
My DIY Upholstered Headboard with Tufted Buttons and nailhead-detailed arms is done! I saw this tutorial from Dorsey Designs for a DIY Upholstered Headboard back in January of 2013, ordered all my supplies . . . then proceeded to have morning sickness/lack of energy for the next several months. Plus, my handsome carpenter (hubby) was out of town for months, so he didn’t have time to get the initial frame done. But alas, we finally got around to it finished it. We loved and used that headboard for years until we finally upgraded to a California King and had to get a new headboard. But I will always have a special place in my heart for this favorite headboard, made all the better because I made it myself!
Supplies needed for DIY Upholstered Headboard:
Comment below if you have any questions and I’ll get back to you ASAP. Good luck! -Lisa
– Foam Pad <–so much cheaper than buying custom foam! I bought a Full-Sized Mattress topper for my Queen sized headboard–it turns to the side. (Queen beds are 60″ wide–Full-size mattress toppers are 75″ wide so you’ll have room to spare).
– Buttons <–(you’ll need 30 buttons, so get 2 packs)
– Batting
– Upholstery nails/tacks (smooth finish) <–You’ll want to order 500 nails (I used about 480).
– Upholstery Needle
– Staple Gun
– Fabric: I used long IKEA curtains. Note: On one side of the headboard, I had less than an inch of extra fabric to spare, so if you’re risk-averse, you could just buy regular fabric.)
– Bottle of Downy Wrinkle Release
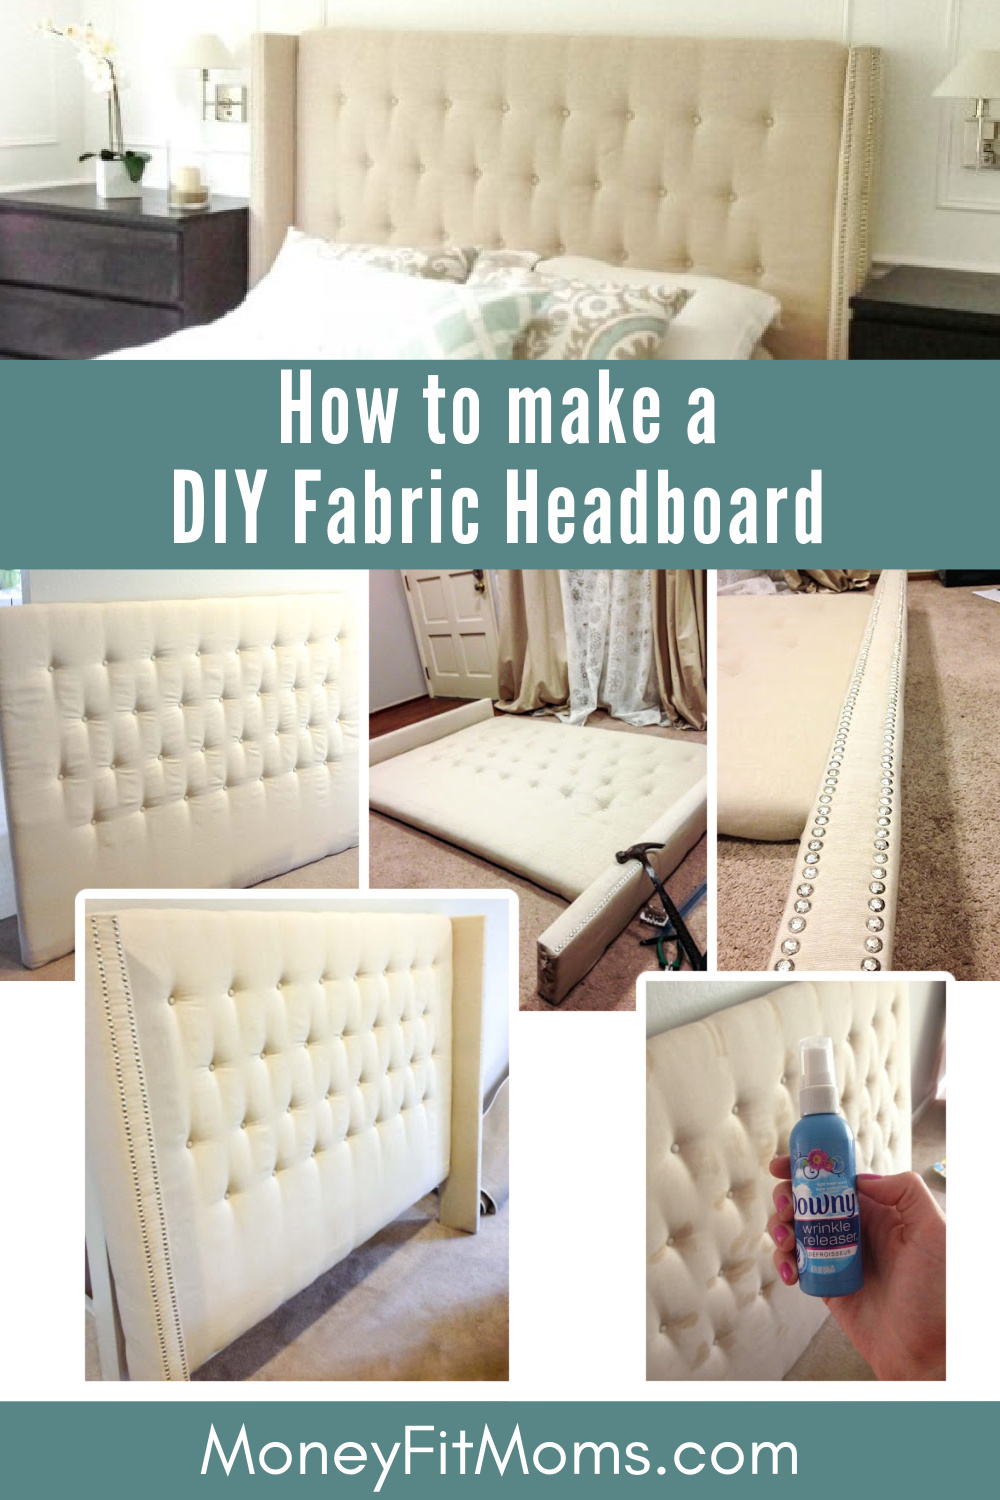
I thought the tutorial was very helpful (Sarah from Dorsey Designs answered so many questions in the comments, so search there if you have questions), so thank you, Sarah. I did my own thing for the buttons, patterning more after this Restoration Hardware upholstered bed.
How Much It Cost to Make My DIY Upholstered Headboard
Her cost estimations were pretty close–I spent about $150, although my breakdown was a little different. Wood was more expensive, but I saved other places, like on foam (I ordered this full-sized memory foam mattress pad–worked perfectly) and on fabric (I used IKEA curtains). $150 is definitely on the high end for my usual type of DIY project, but we really needed a headboard and similar headboards sometimes retail for hundreds more, so I’ll take it.
Side-Note . . . In case you decide to buy a Ready-Made Headboard
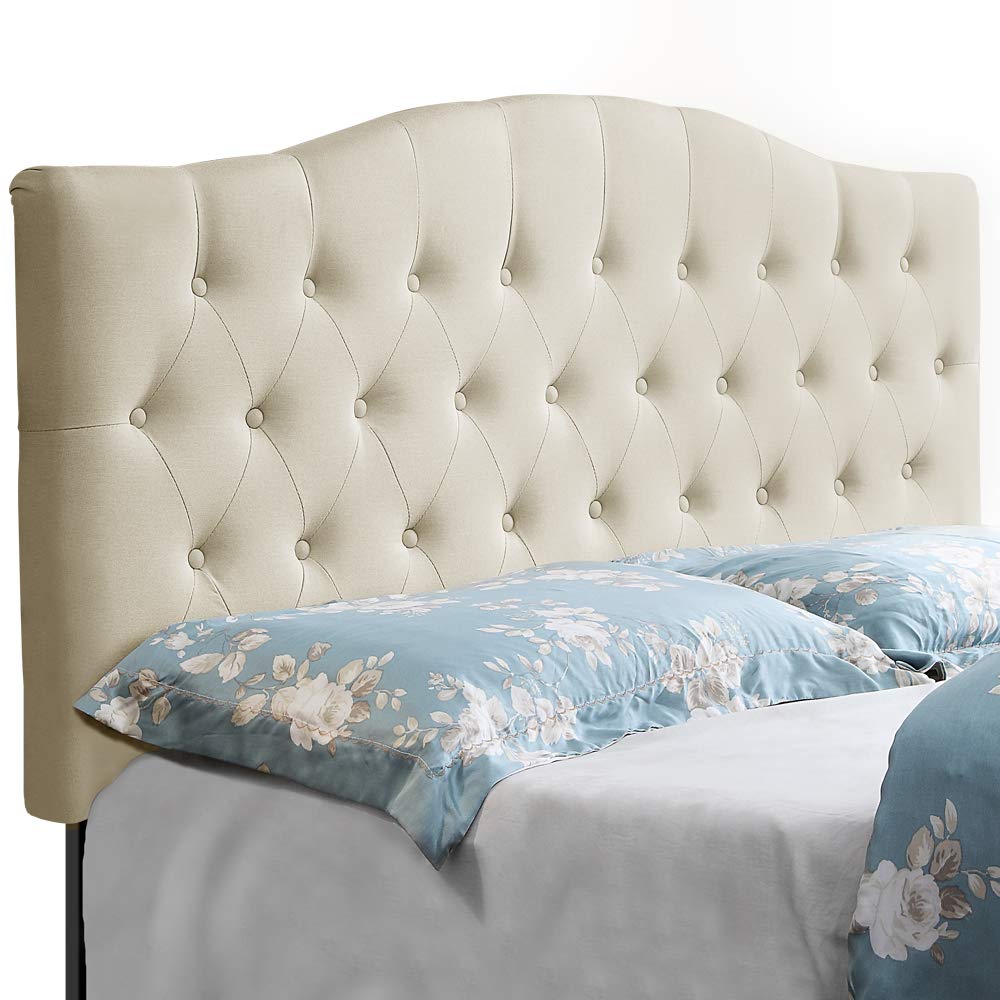
If You’re Losing Your Nerve and Want to Buy a Ready-Made Headboard, check out this one from Amazon. It’s similar, but without sidearms.
Helpful Tips for Making Your DIY Upholstered Headboard with Tufted Buttons and Nailhead Trim
Some tips I learned along the way that I wanted to pass on to anyone attempting this project:
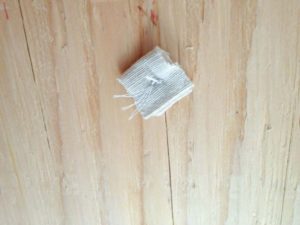
How to Secure Buttons to DIY Tufted Headboard
I secured my buttons differently. Sarah and her husband secured the buttons to the back using staples. It was easier and sturdier to:
- Fold pieces of scrap fabric multiple times
- Use fabric to secure buttons to the back of the headboard. They look like this:
Iron Your Fabric before Upholstering
I ironed my fabric before stapling to the board and adding my buttons.
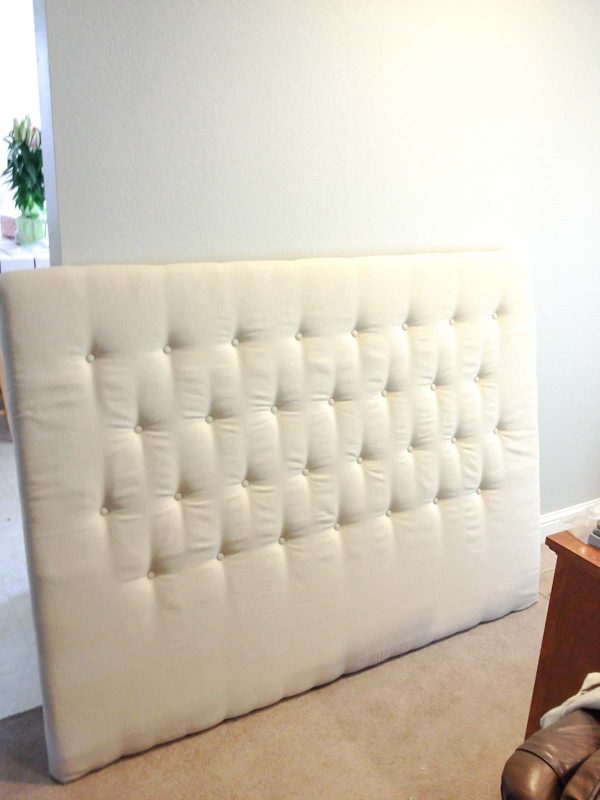
Pull the fabric tight, but–especially if you used memory foam–don’t freak out if your headboard looks like this (super wrinkly) after adding all the buttons:
How to Remove Wrinkles from DIY Upholstered Headboard
I was *this* close to cutting all the buttons off and starting over with thicker foam and pulling the fabric tighter, but thank goodness I was too tired to mess with it anymore that day because by the next morning, the memory foam had expanded more and helped smooth out the wrinkles.
In addition, I used a travel-sized bottle of Downy wrinkle release to help where the fabric was being pulled too tight and consequently puckering.

Staple Gun for DIY Upholstered Headboard
By the way. you’ll need a staple gun to secure the fabric to the back of the board–if you need one, this is a good one.)
How to Add Nailhead Arms to DIY Upholstered Headboard
Adding the arms was probably the most cumbersome part of the project. Definitely clear away little holes for the screws, as Sarah from Dorsey Designs says. And if at first, you don’t succeed, try, try again. We had to completely unscrew one of the arms and redo it before we got it on right. We found the best method was to put the whole headboard and arm on our kitchen table while we screwed it in.
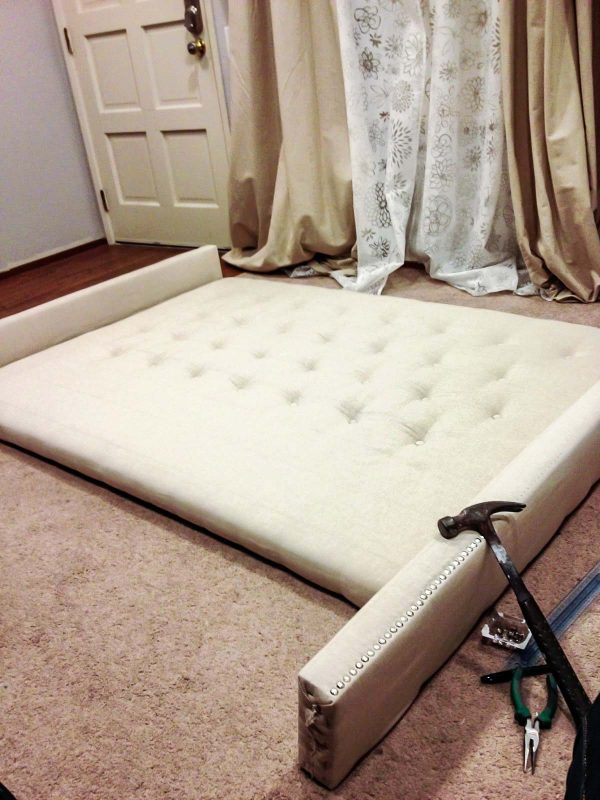
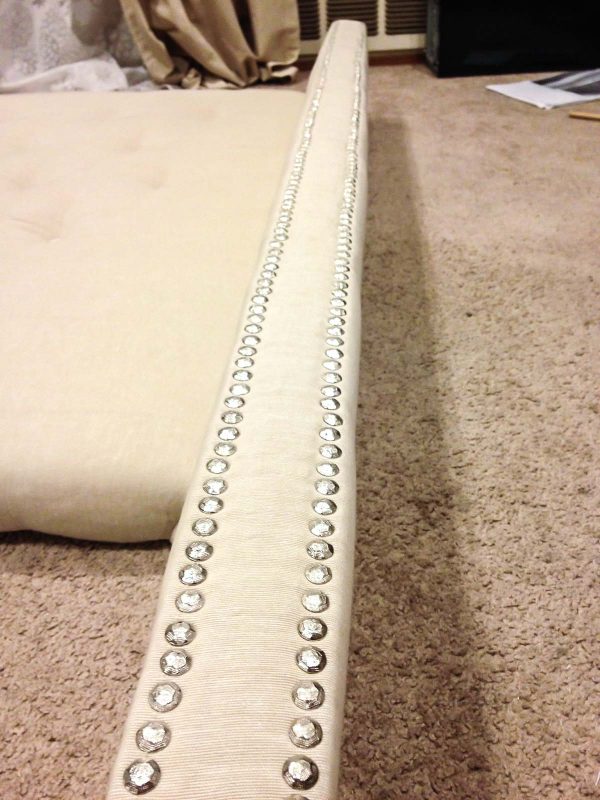
Add Nailhead Trim to Headboard Arms
Then put on a couple of movies, mark where you want all the nail heads to go (I did them every 1/2″), and go nuts! Not gonna lie–it was a lot of nailing.
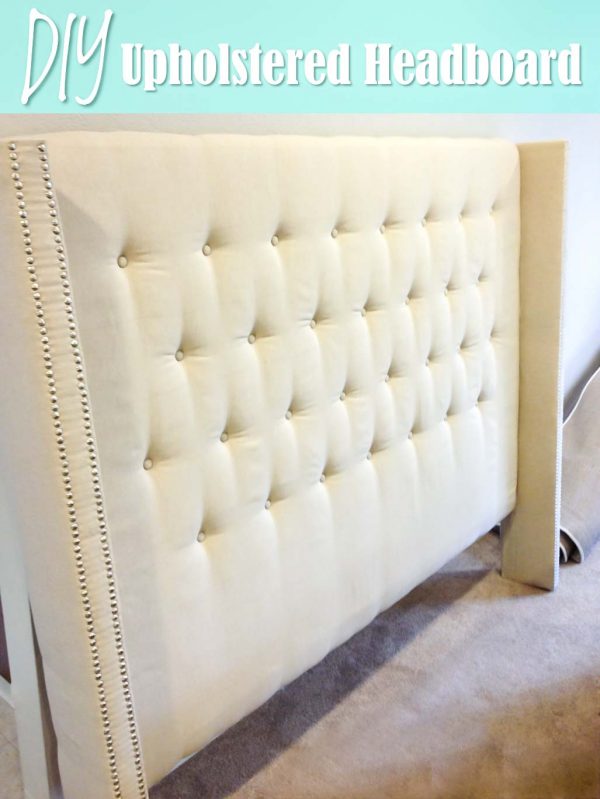
Here is the finished product!
Ready-Made Upholstered Headboards — Amazon Alternatives
If you’ve lost your nerve to DIY – check out these Ready-Made Alternatives


Hi there! My husband and I are gearing up to take on this project. I read through your post as well as the original, but I have a question about the buttons. I’m struggling to understand how you apply the buttons to the headboard and get them covered with the matching fabric. Do you have to individually cut and cover the buttons with fabric first? Or is there a method for applying the buttons under the large fabric covering the headboard and then pulling to create the desired look? If you could explain how this part is done it would be so appreciated! Thank you so much!
Hi Meaghan– Yes, I covered 30 buttons with the same type of fabric using Dritz cover button kits. Different sizes include different quantities, so order accordingly. There’s a link above to the buttons I bought. You could also buy them from a Joanns and possibly Michaels. https://amzn.to/2WiJAXW
Good luck! <3 Lisa
Please send more on how to start and accurate measurements
Hi! So the frame dimensions are in a link at the top from Dorsey Designs: https://www.dorseydesigns.com/diy-headboard-complete/
She drew out an awesome diagram with measurements. Let me know if you have any more questions–and good luck! -Lisa
Hi!! I am getting ready to make this and couldn’t find the dimensions that you used for cutting your wood. Maybe I missed it! But, I was wondering if you could help a sister out and tell me what kind of wood you got and the dimensions you used? Thanks!!
Hi! So the frame dimensions are in a link at the top from Dorsey Designs: https://www.dorseydesigns.com/diy-headboard-complete/
She drew out an awesome diagram with measurements. Let me know if you have any more questions–and good luck! -Lisa