When we bought our first home, DIY Valentine’s Day Decorations were not at the top of my financial priorities list, but my college roommate Rachel had spread her love of Valentine’s Day decorations to me. Back then, money was tight, so I decided to see if I could create DIY Valentine’s Day Decorations for my fireplace mantle with $10.
By the way, another great money-saving tip is a romantic night in. Here are the BEST Stay at home date ideas.

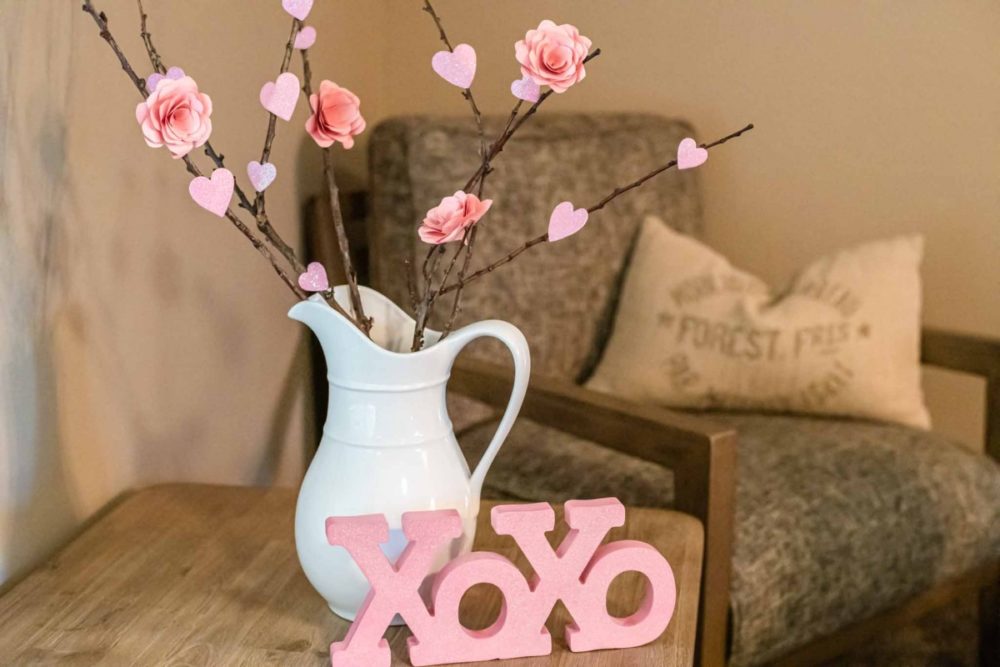
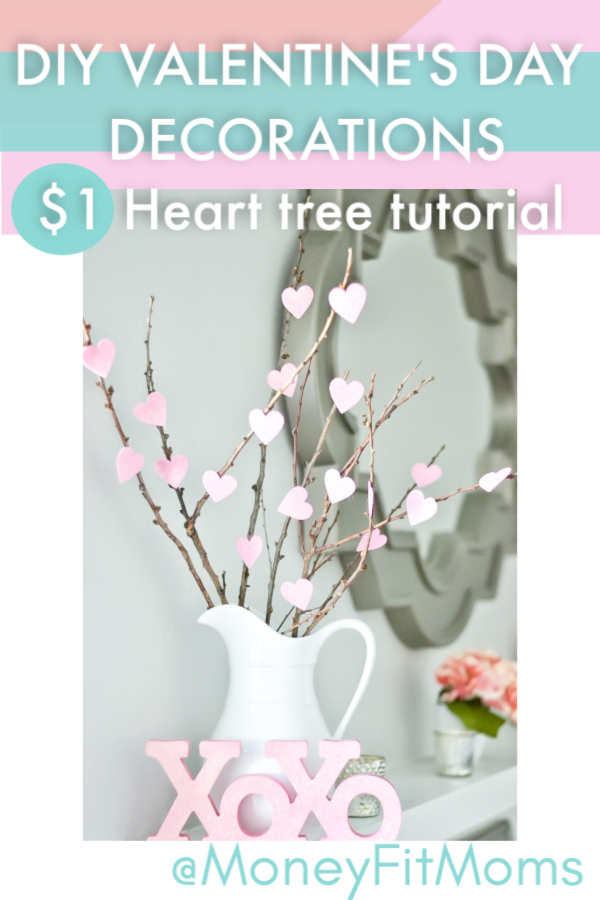
Tutorial for my $1 DIY Valentine’s Day Decorations Heart Tree:
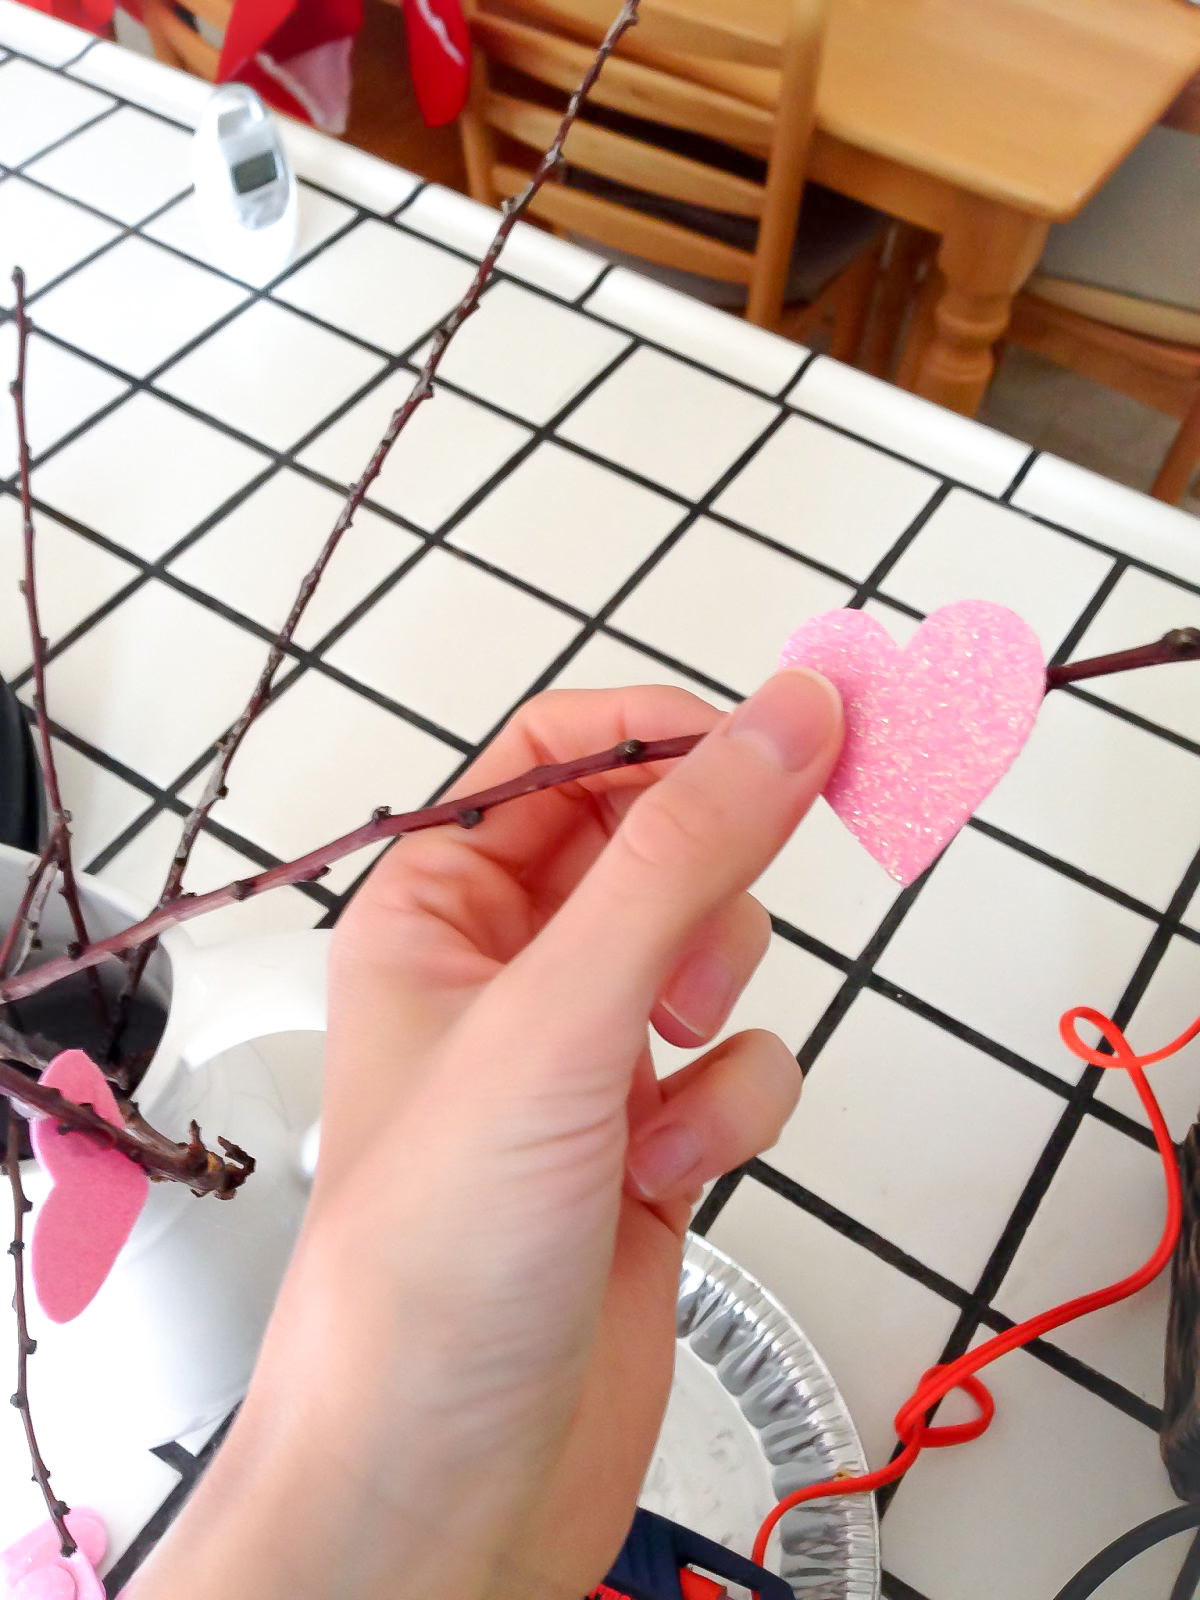
Step 1: Grab some thin branches from the nearest tree.
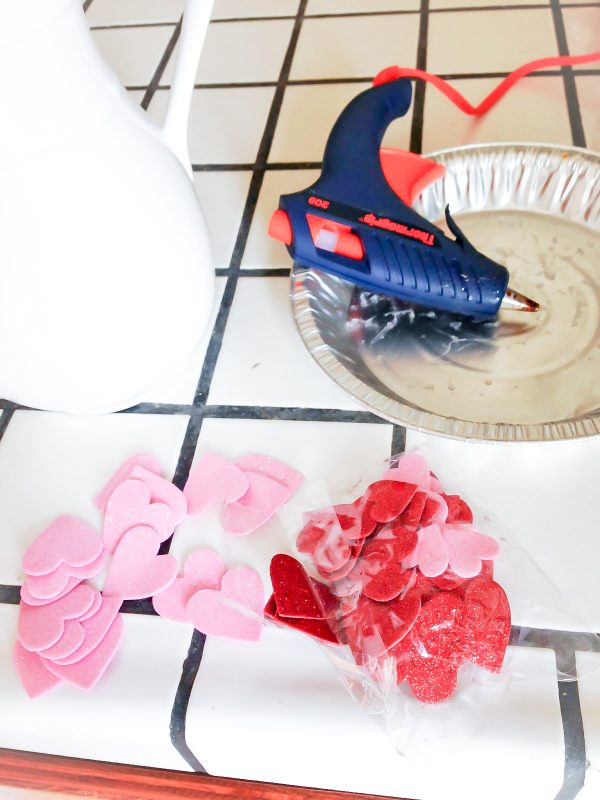
Step 2: Make or buy some little hearts (mine were from Dollar Tree–Amazon sells them here). Or if you want to use your own paper, you can use this craft punch.
Cricut
If you have a Cricut, that would work great for cutting out hearts.

Step 3: Hot glue hearts to branches. (Need a glue gun? This one from Amazon will do).
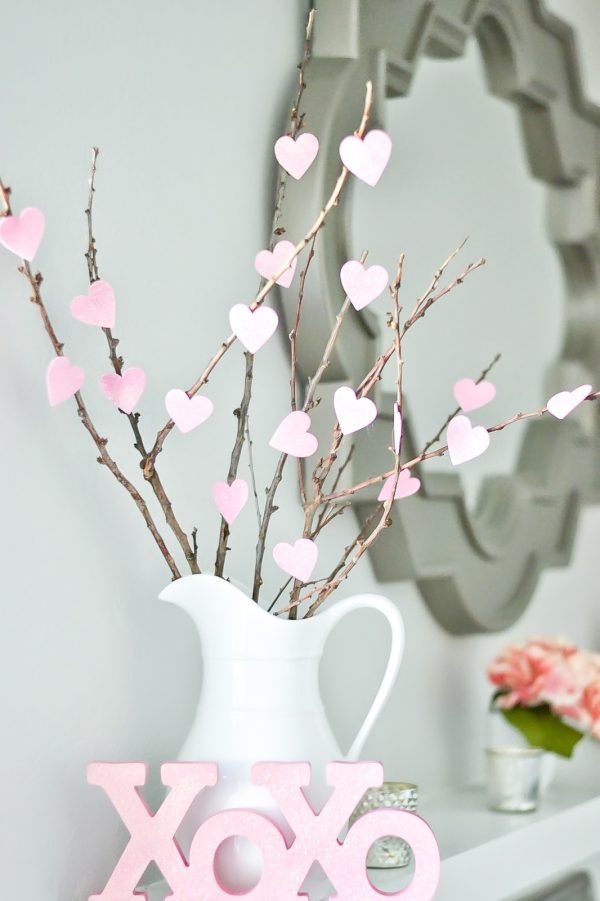
Step 4: Enjoy the fact that you just made the cheapest, easiest Valentine’s Day craft ever.
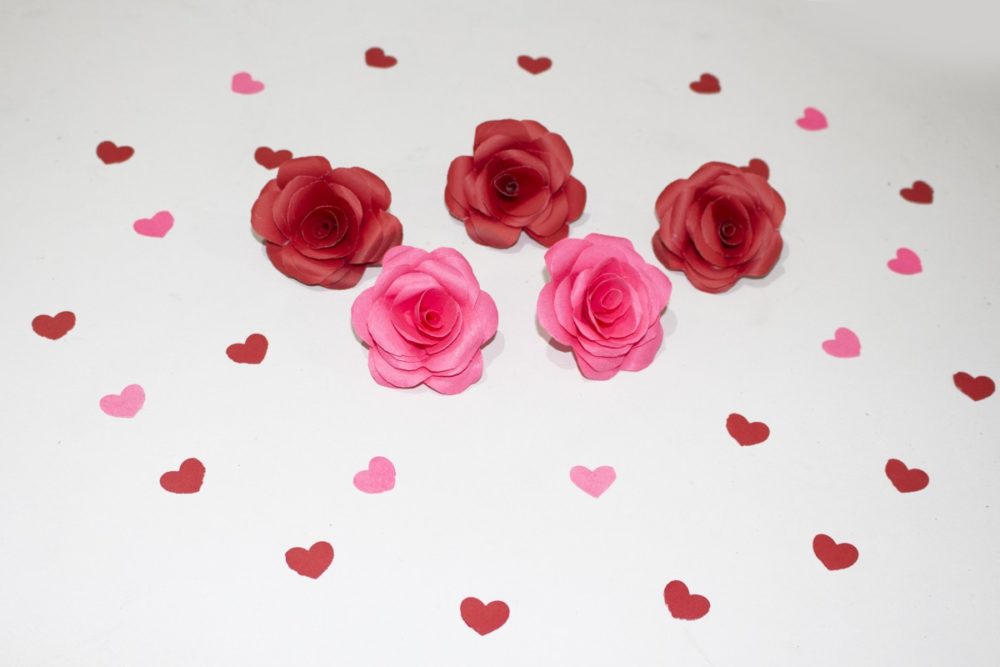
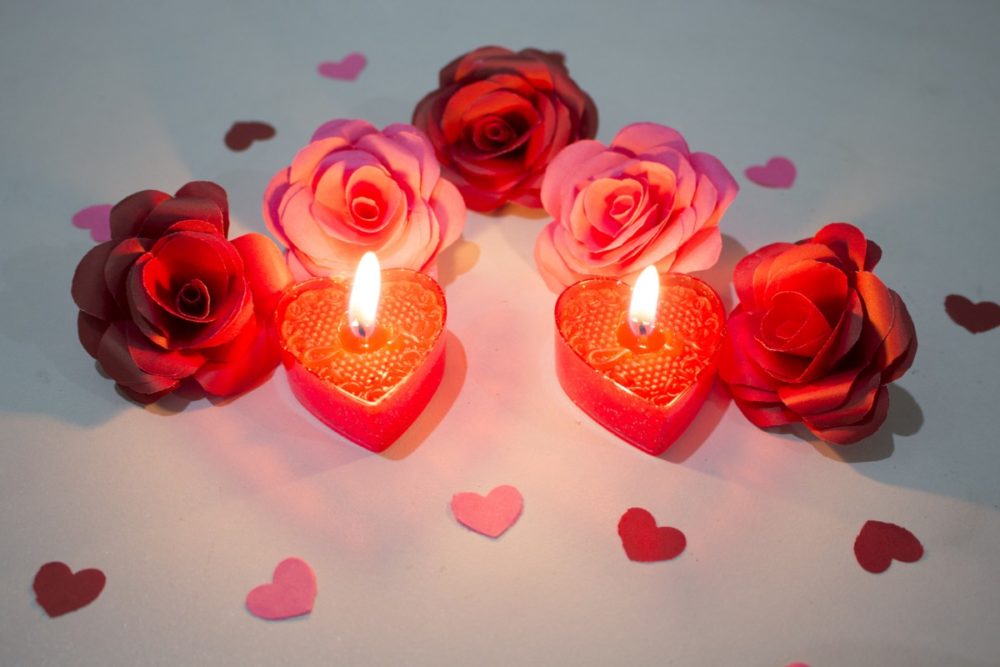
Optional: Add some paper roses
Alternatively, you can make some paper roses (How to make paper roses) and mix those in with the hearts.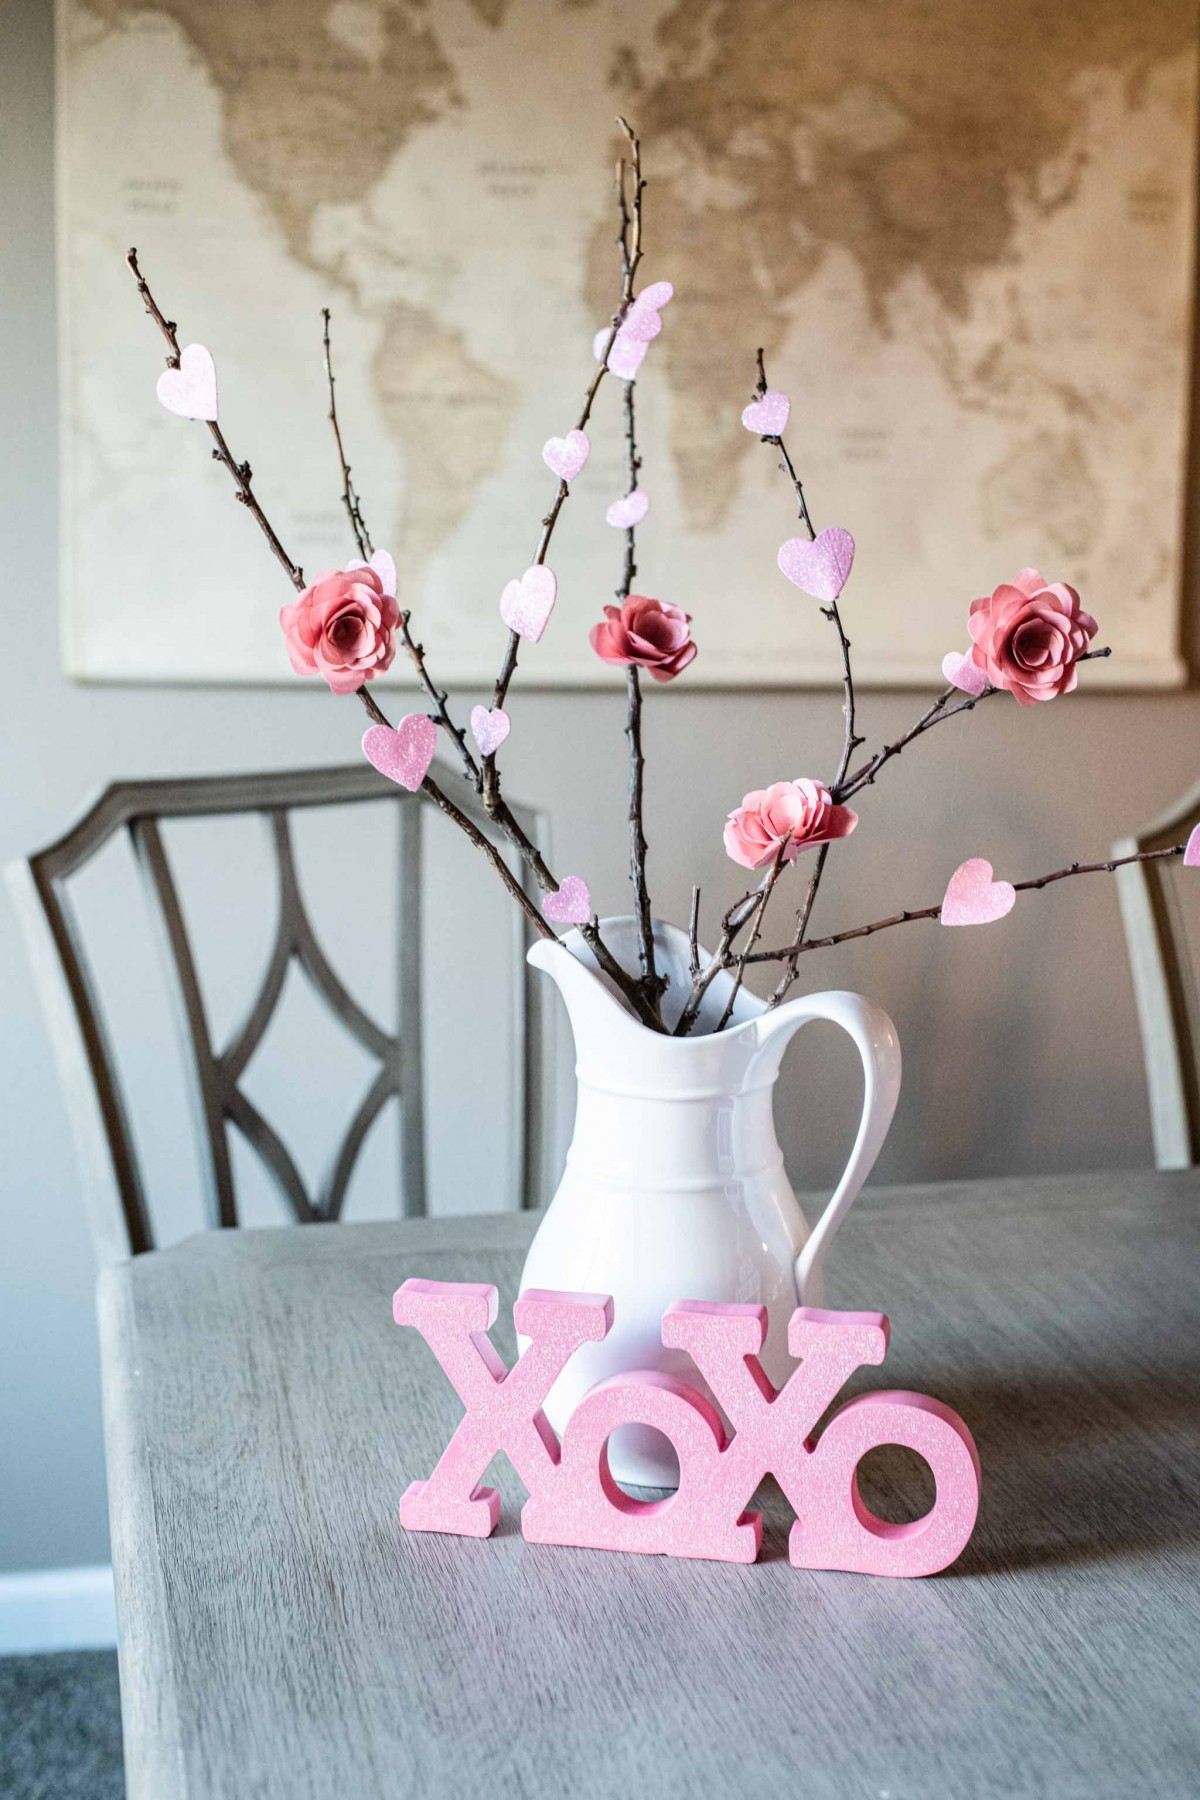
Let’s learn how to make paper roses:
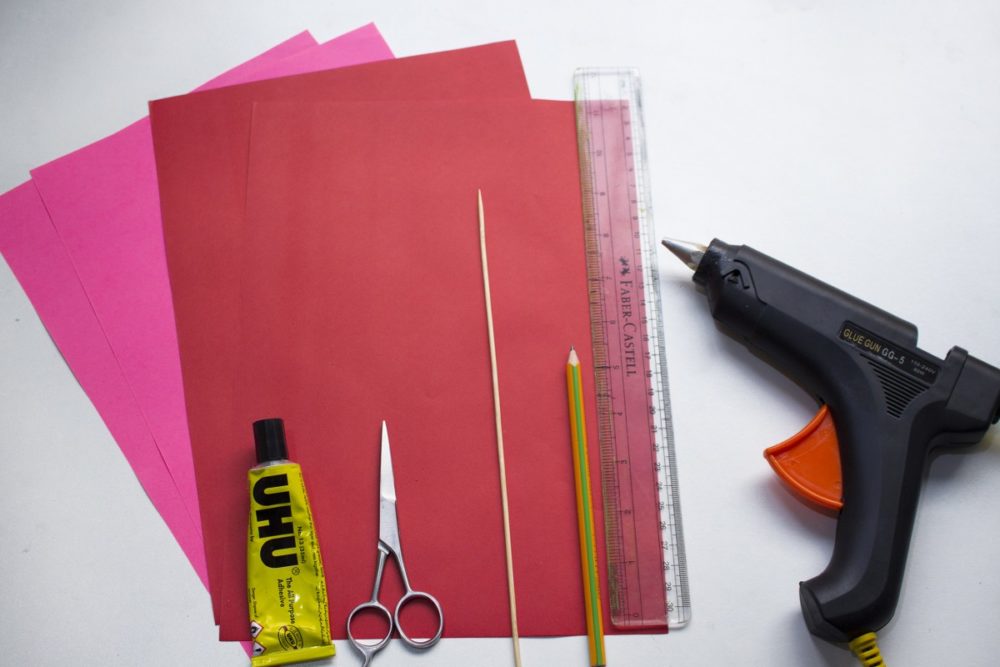
Supplies needed to make paper roses:
- Paper
- Ruler (optional — used to cut paper to a square shape)
- Scissors
- Glue (Craft flue, a glue stick, or hot glue)
- Pencil or Wooden skewers to create curves on the petals
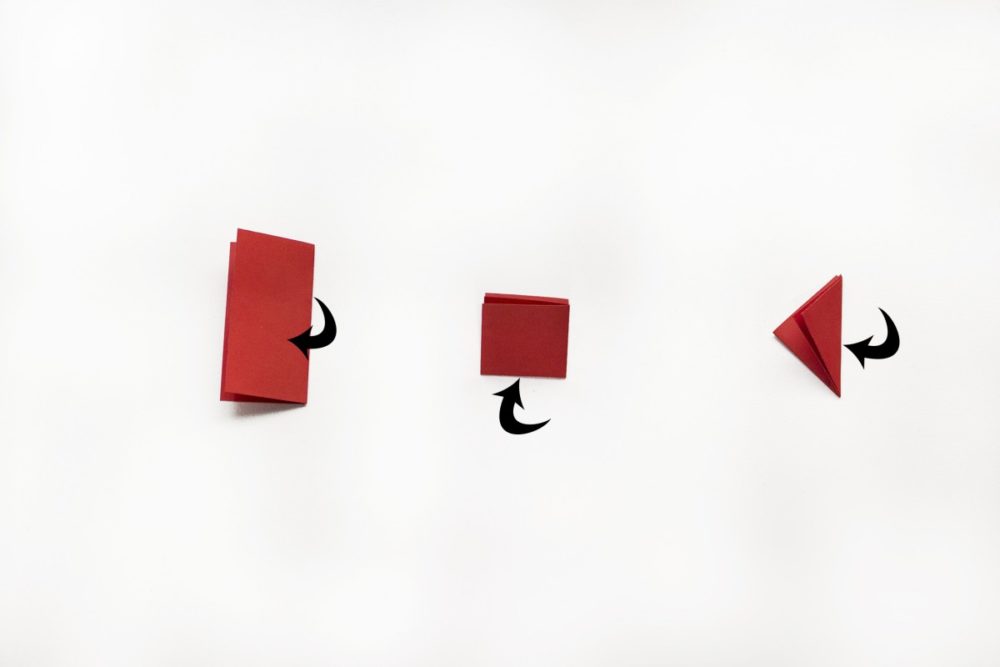
Step One: Folding the paper
You will need 4 pieces of square paper of the same size.

I used 7cm x 7cm craft origami paper, but any size paper cut into a square will work. The bigger the paper, the bigger the rose.
Fold each piece of paper in half three times until you have a triangle.
See folding example below:
Step Two: Cutting the Petal Shape
First, draw the round shape of a petal.
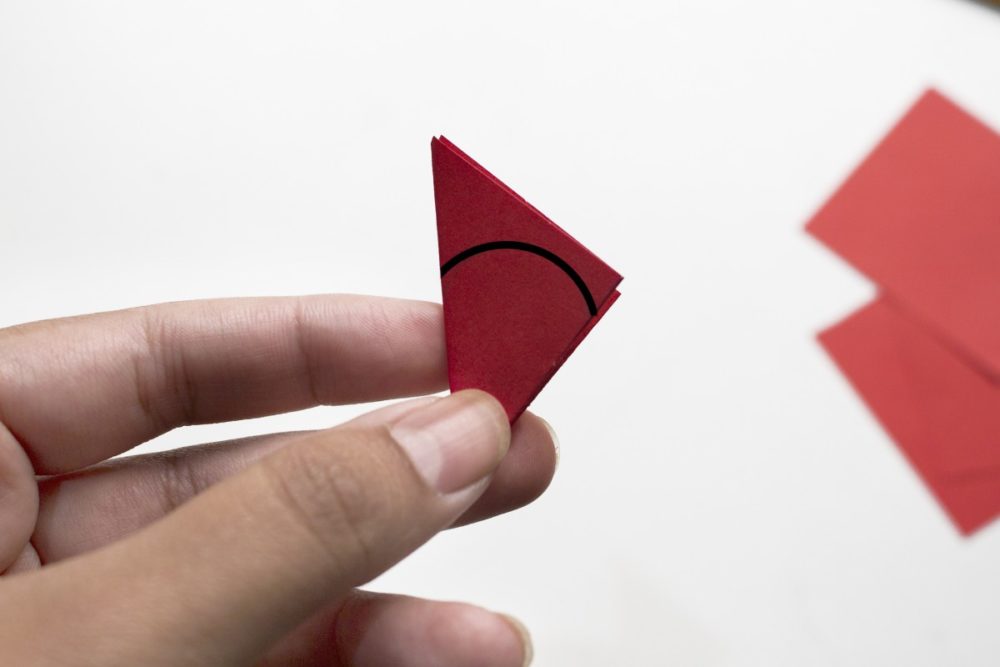
Then, cut it along the line which you have drawn. 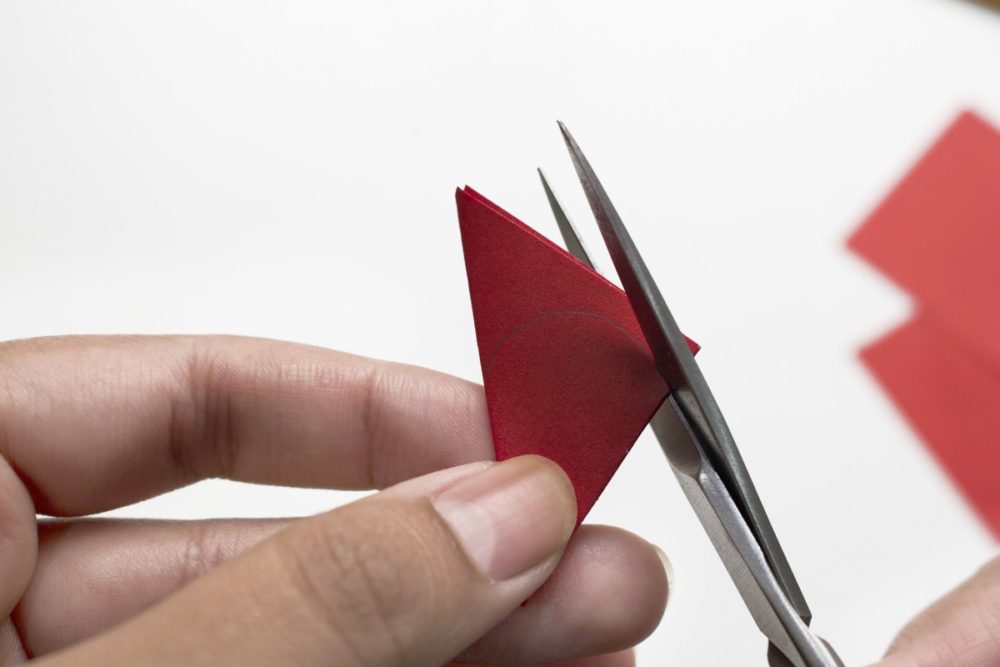
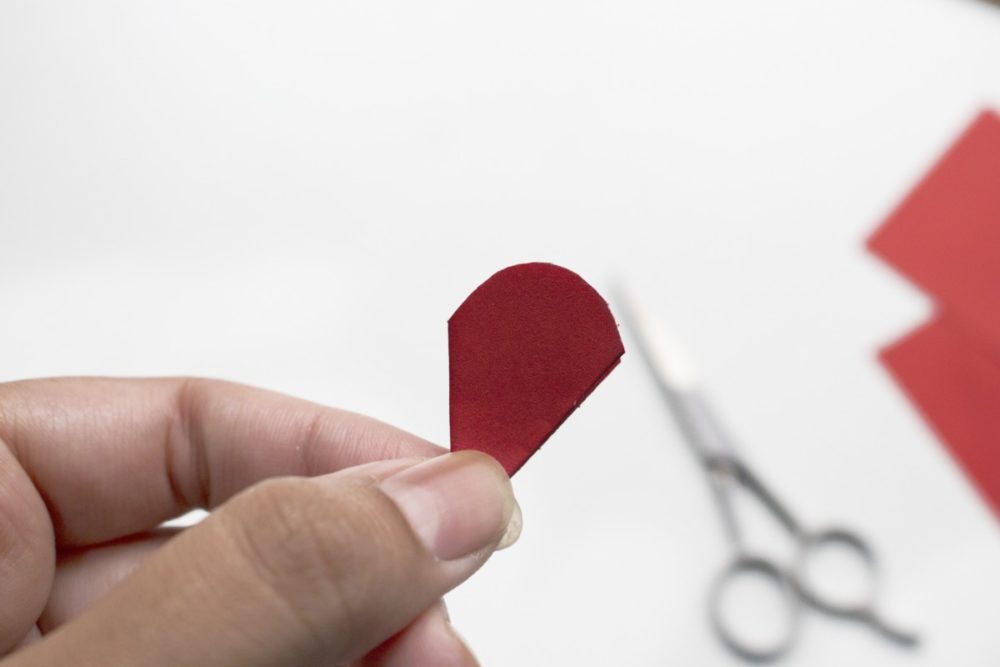
Lastly, cut a small amount off the bottom point.
This cut will allow you to form the rose into a cone shape and later stack the roses.
Repeat the process on all four pieces of paper.
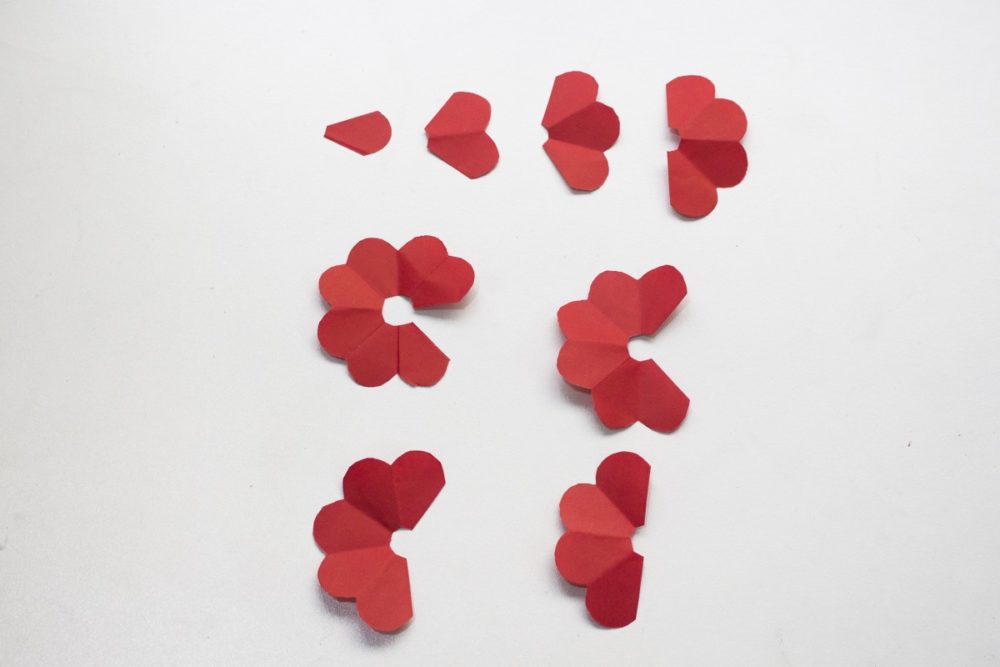
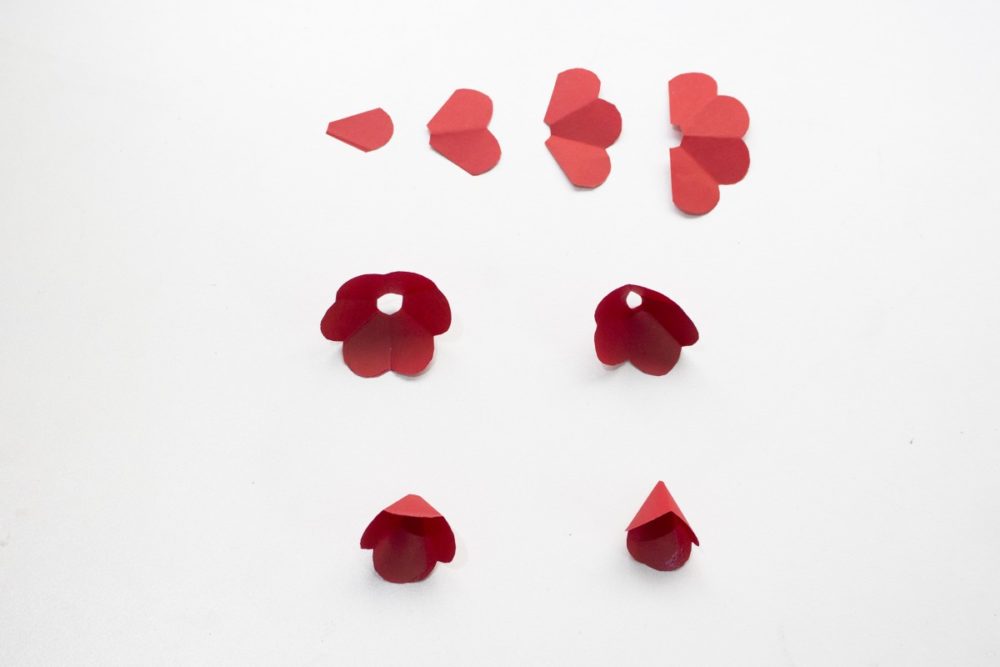
Step Three: Cutting the petals to make the layers of rose petals
Unfold your paper and you should have four flowers that resemble the ones below.
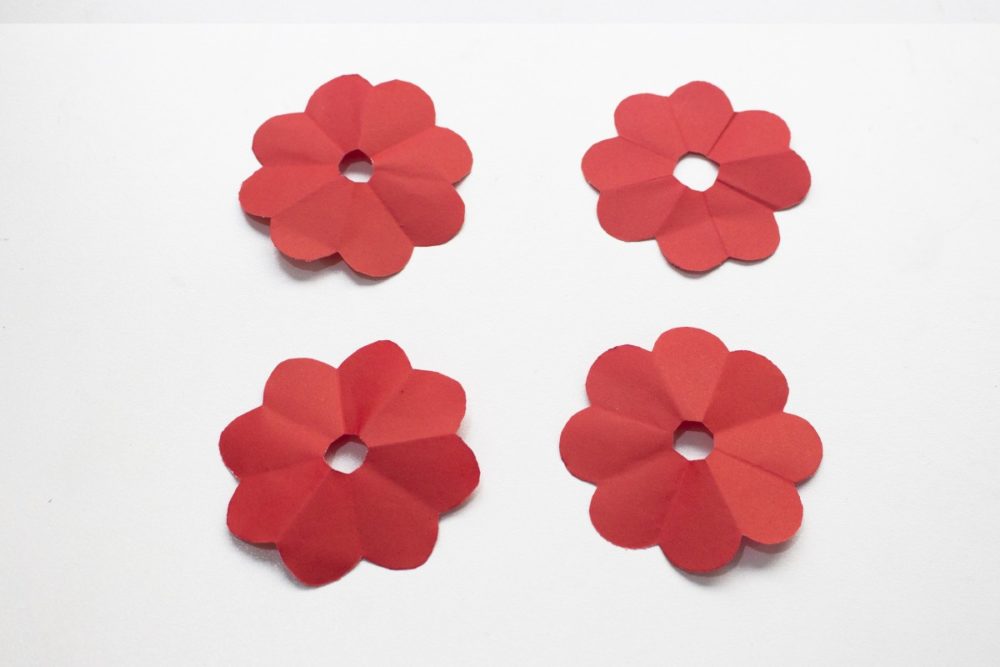
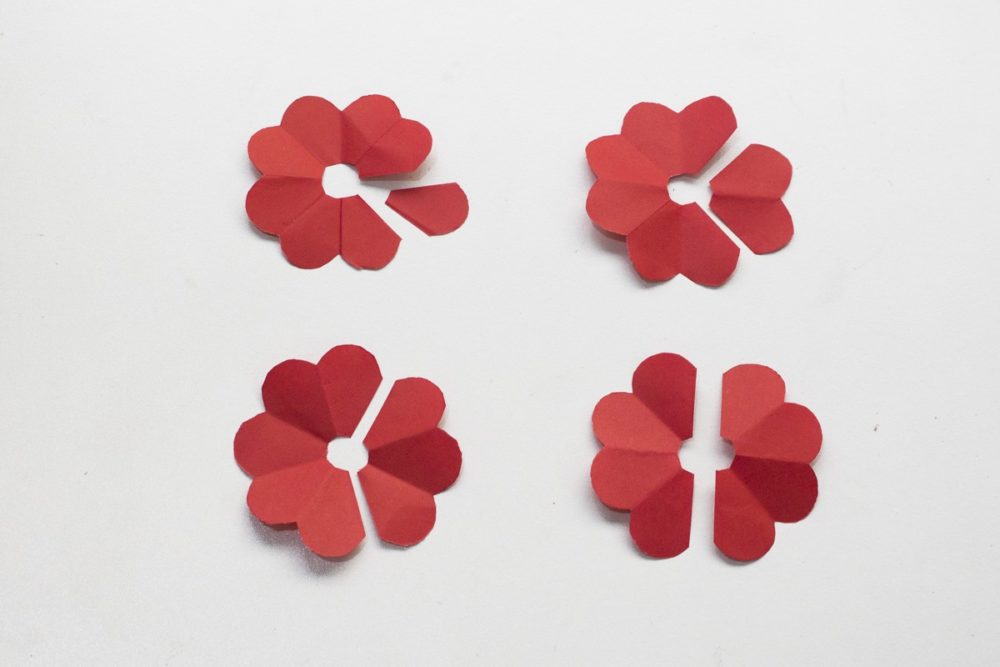
Cut a petal out of each flower:
- One petal from the first flower
- Two petals from the second flower
- Three petals from the third flower and then
- Cut the fourth flower in half.
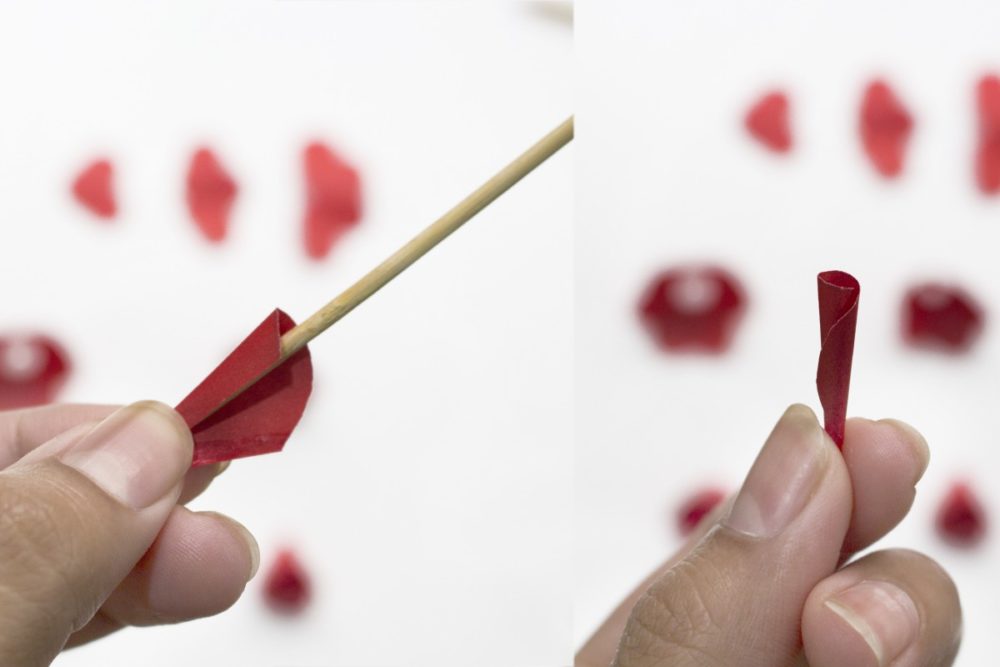
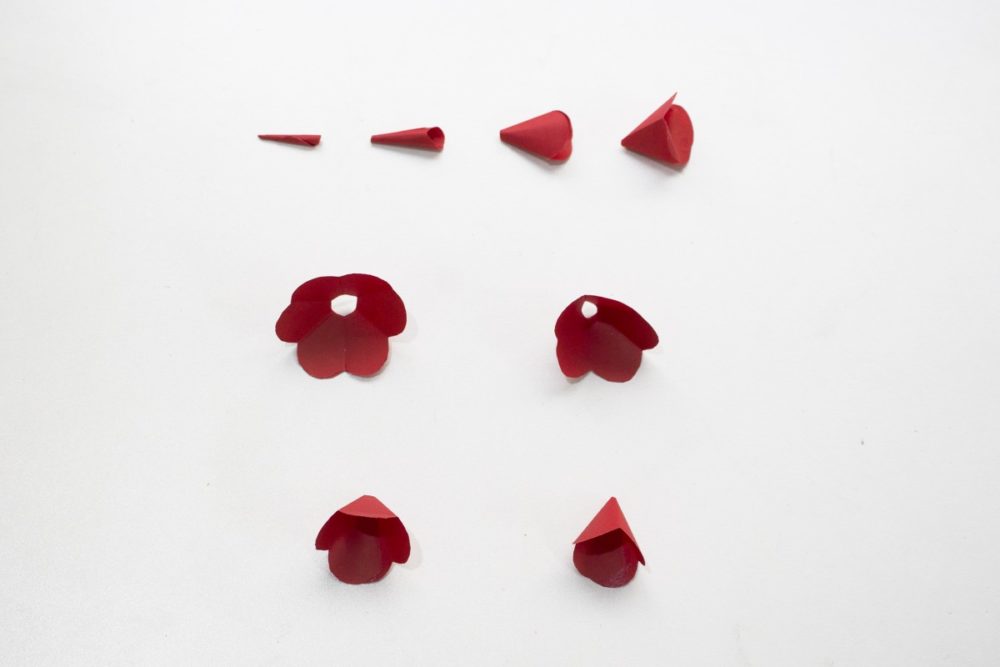
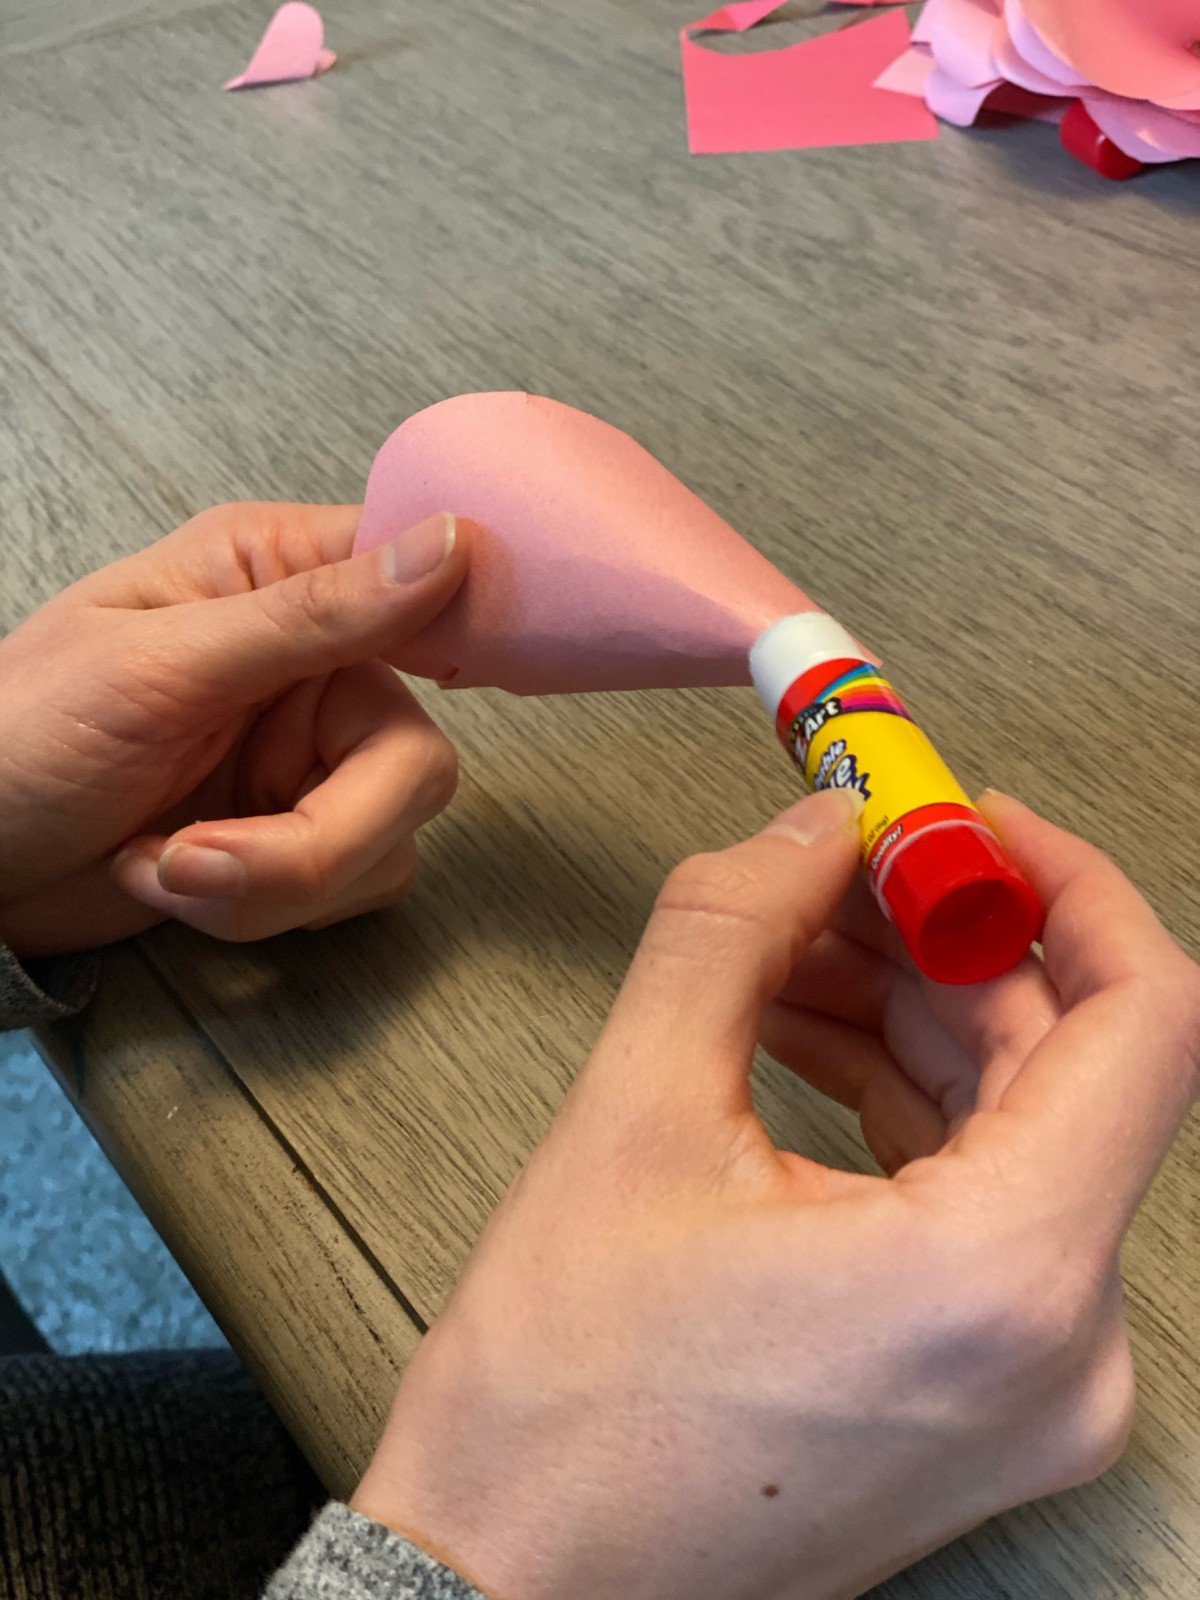
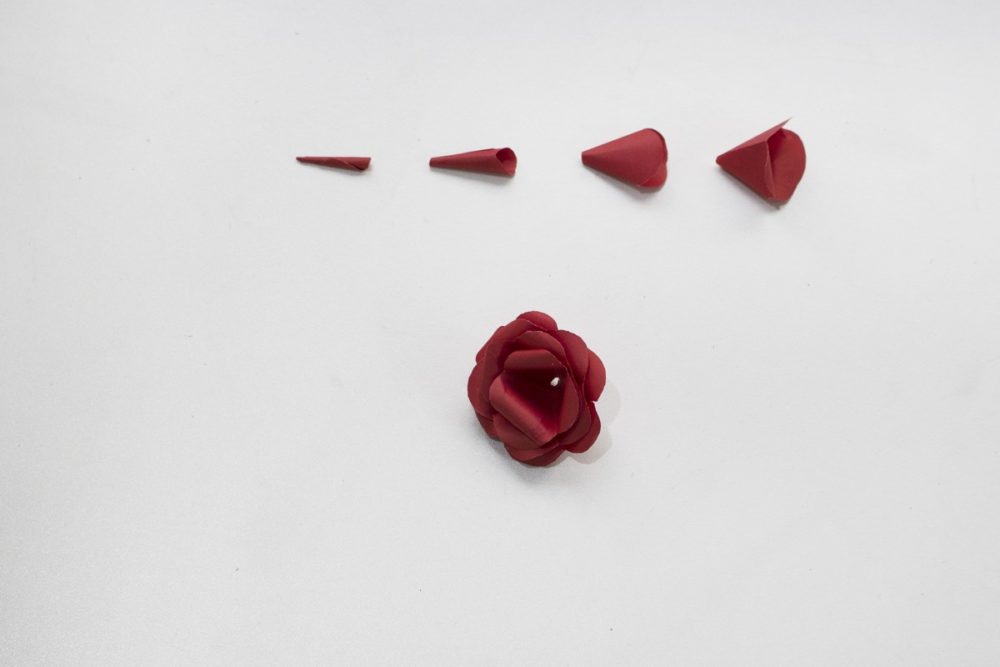
Step Four: ROLLING the Small petals and GLUING the petals into rings
Roll the single petal tightly and roll the double petal slightly larger than the single.
Some ideas for items to use to roll the rose petal:
- A wooden skewer
- A pencil
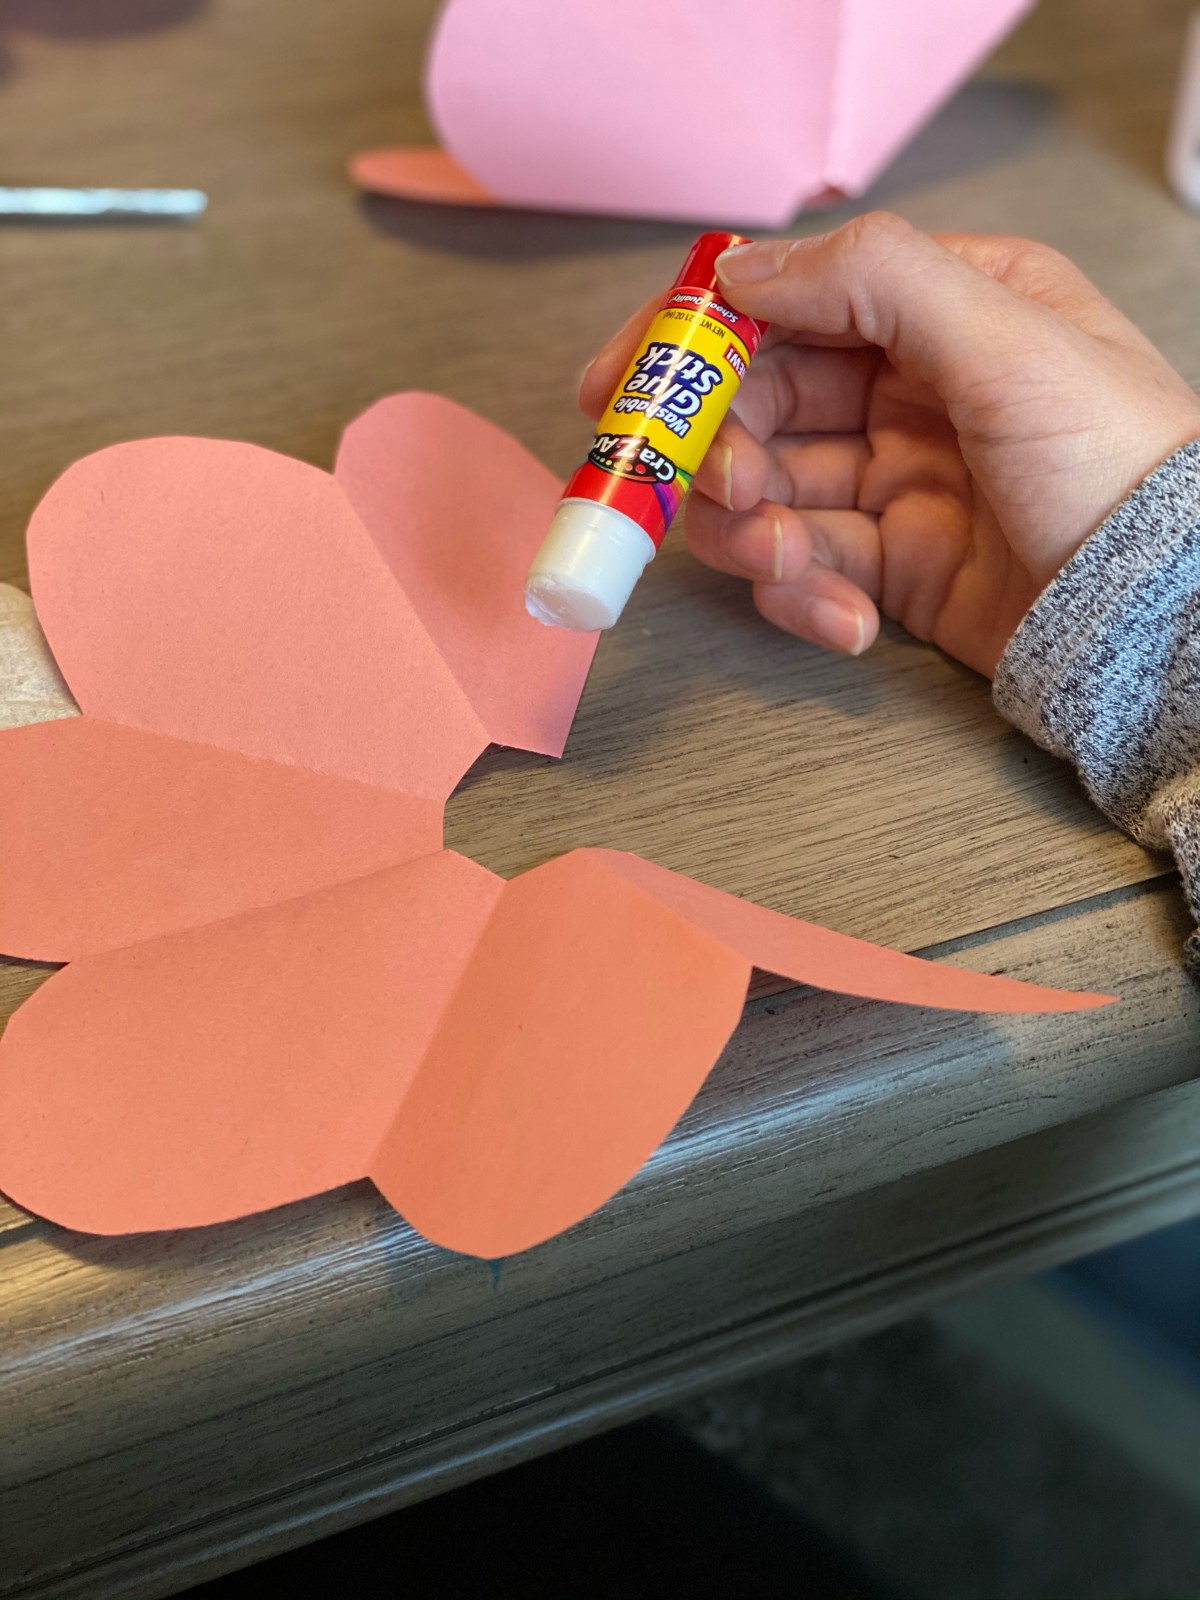
Now use glue to overlap the remaining petals and glue them into place (a Tacky Glue, for example).
You can use a regular glue stick (I have), but the stronger the glue, the better the rose will stay together.

Now all the parts of the rose are ready to be assembled.
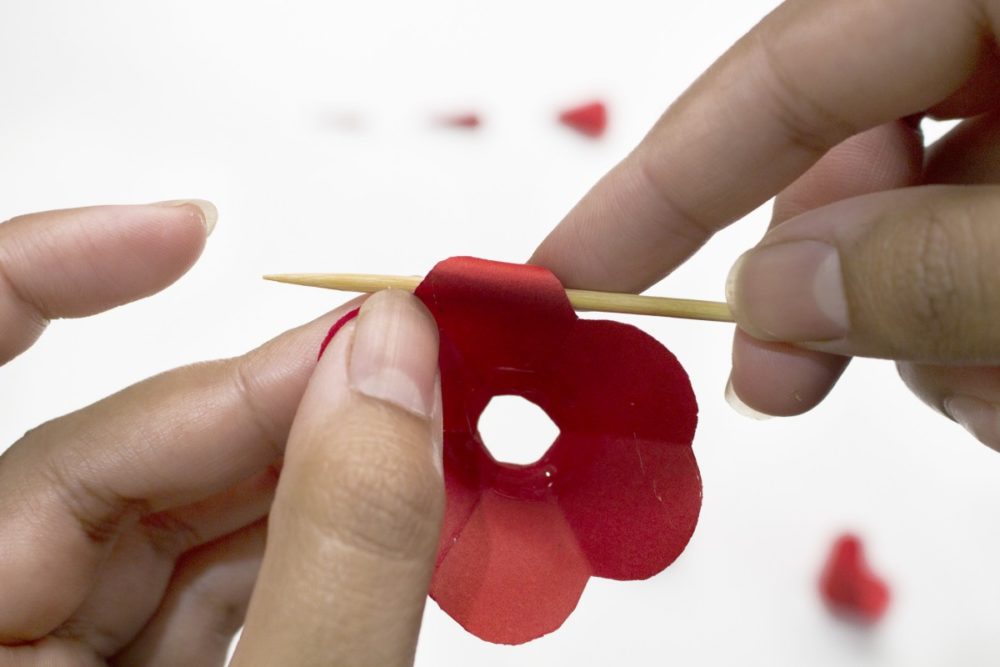
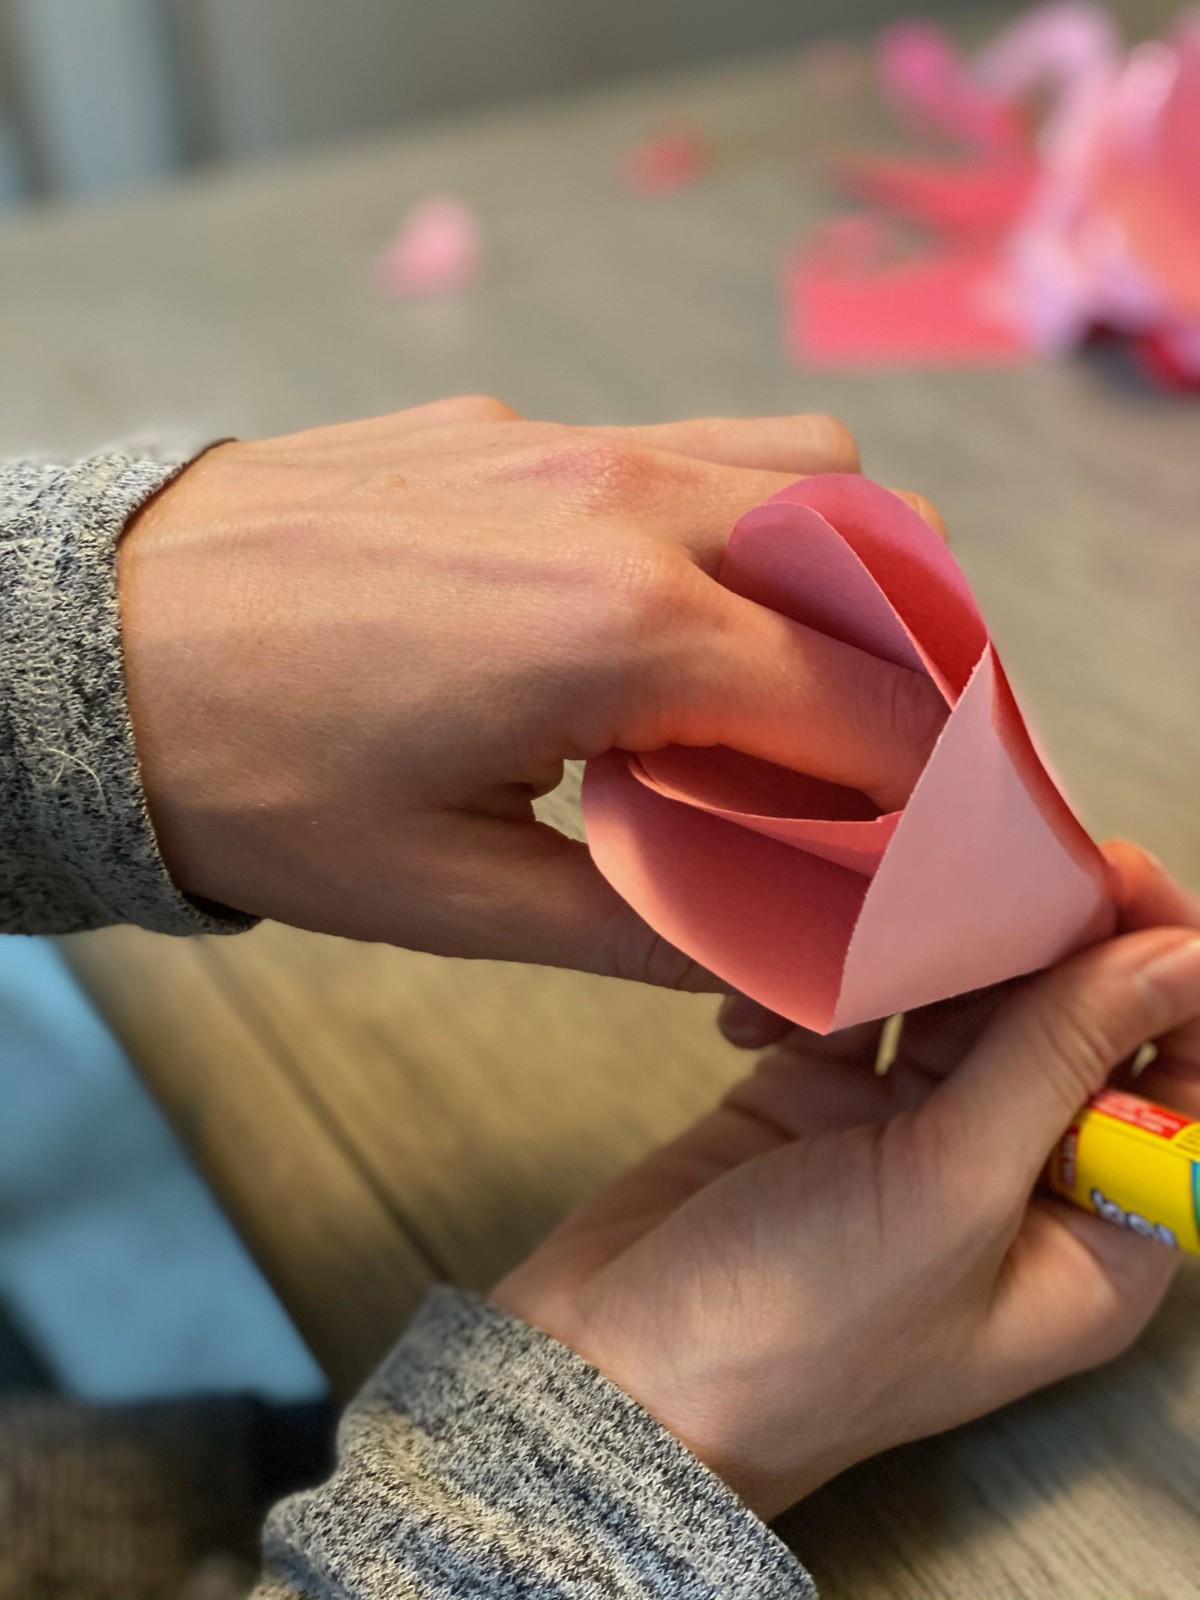
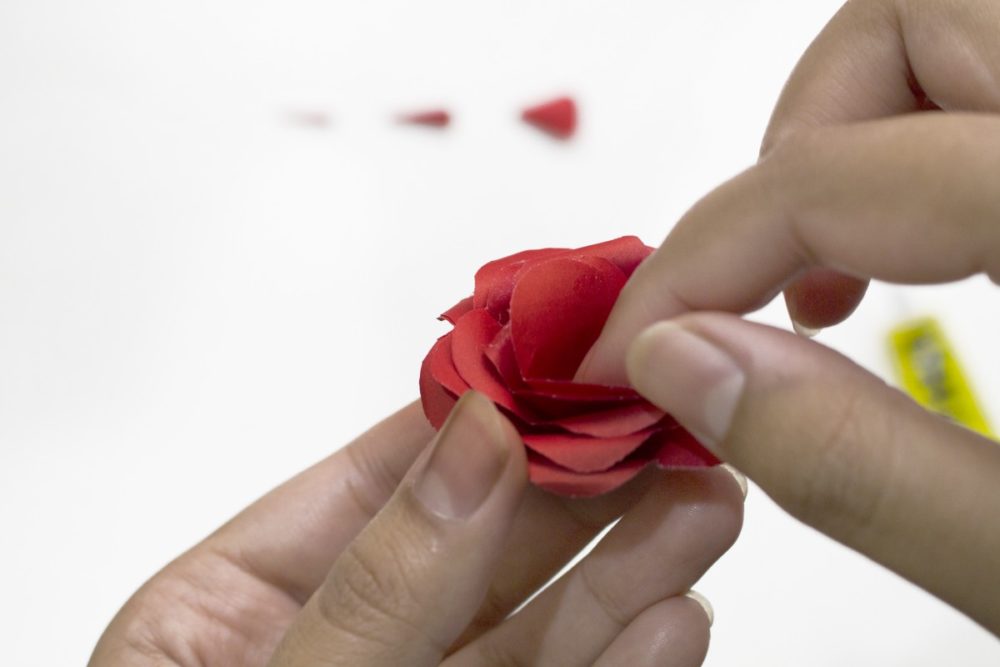
Step Five: Curling the petals
Take a pencil or a wooden skewer and create a curve on the petals.
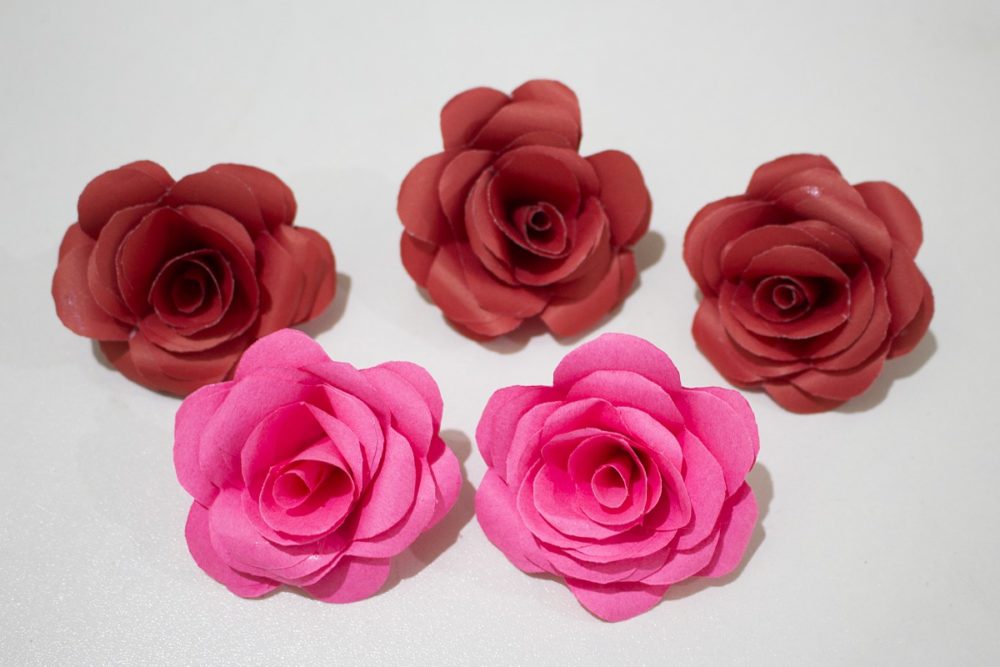
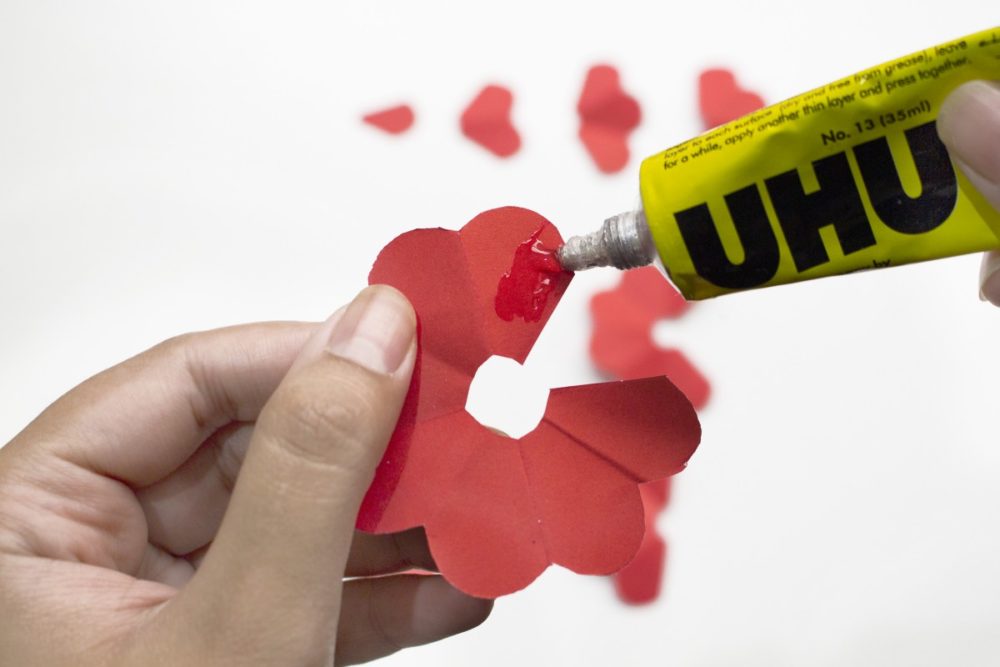
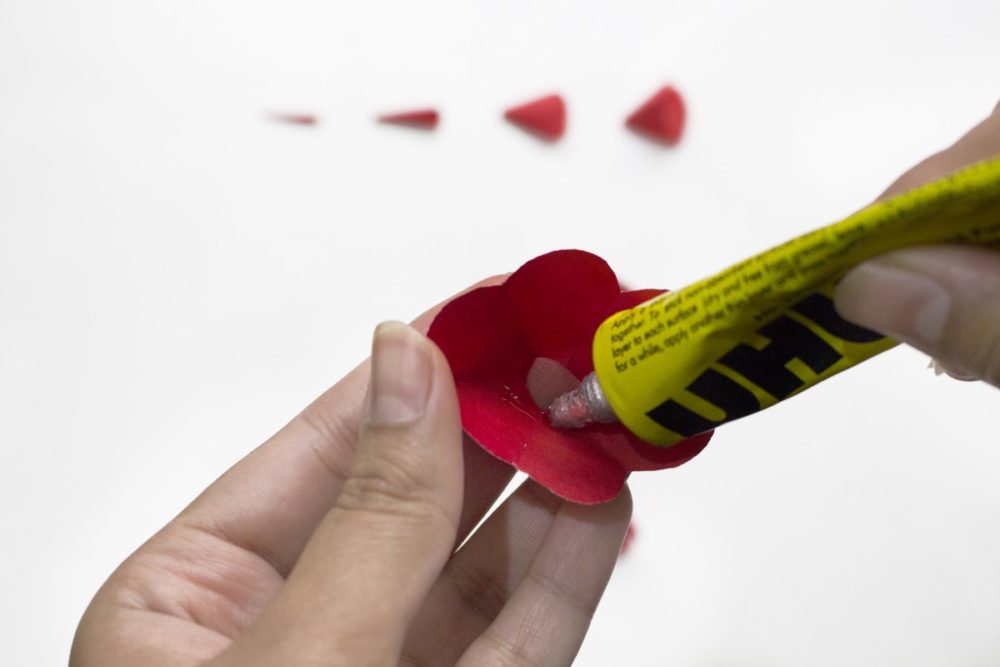
Step Six: Gluing the paper rose together (LAST STEP!)
Start gluing the flower pieces, one on top of the other.
The ones with more petals should be on the bottom and the ones with fewer petals should be on the top.
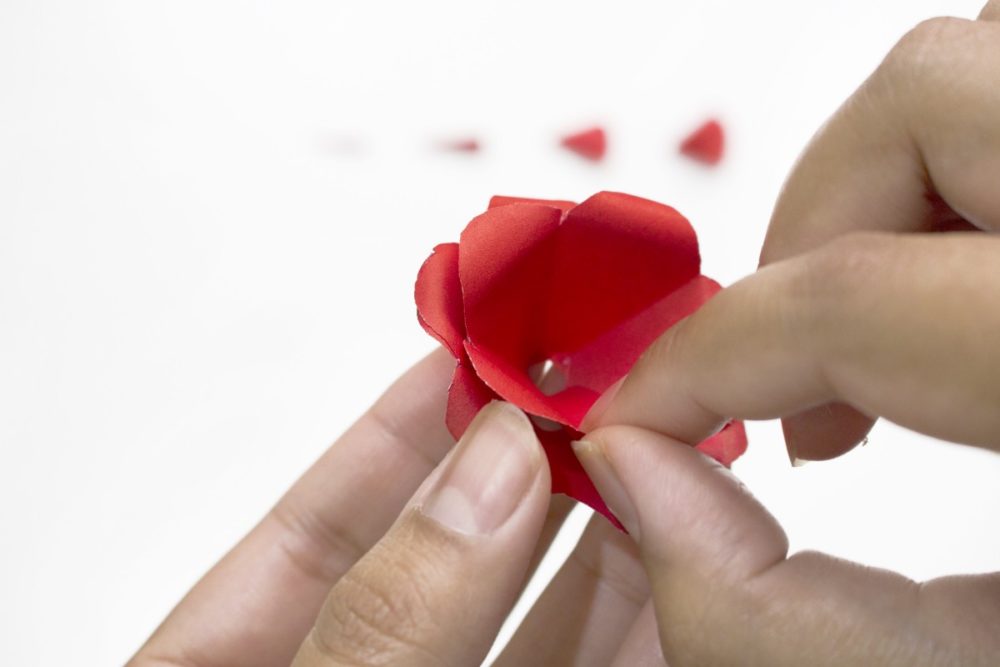
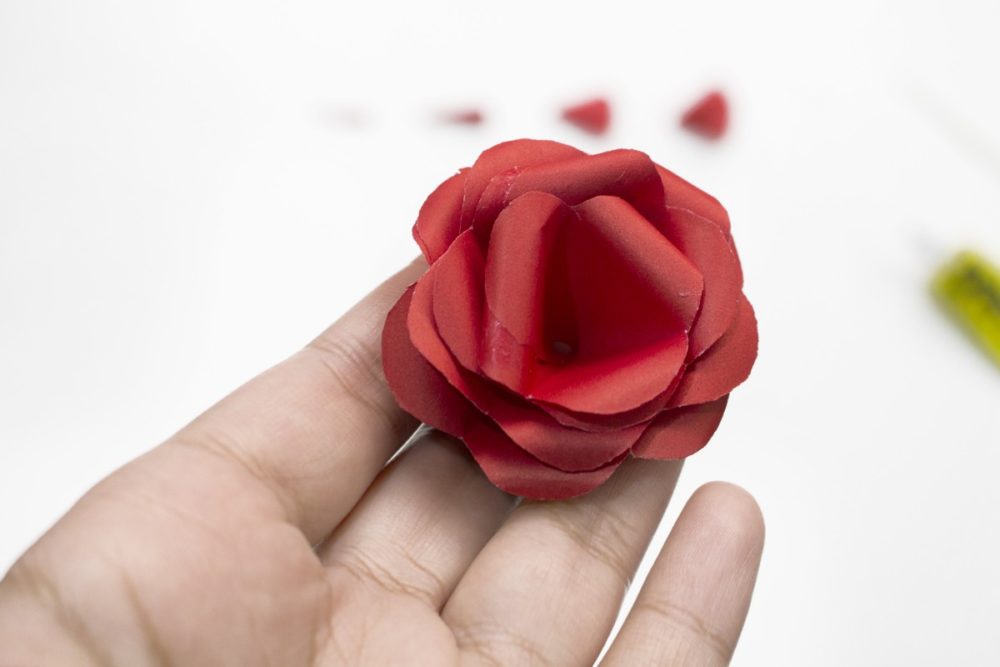
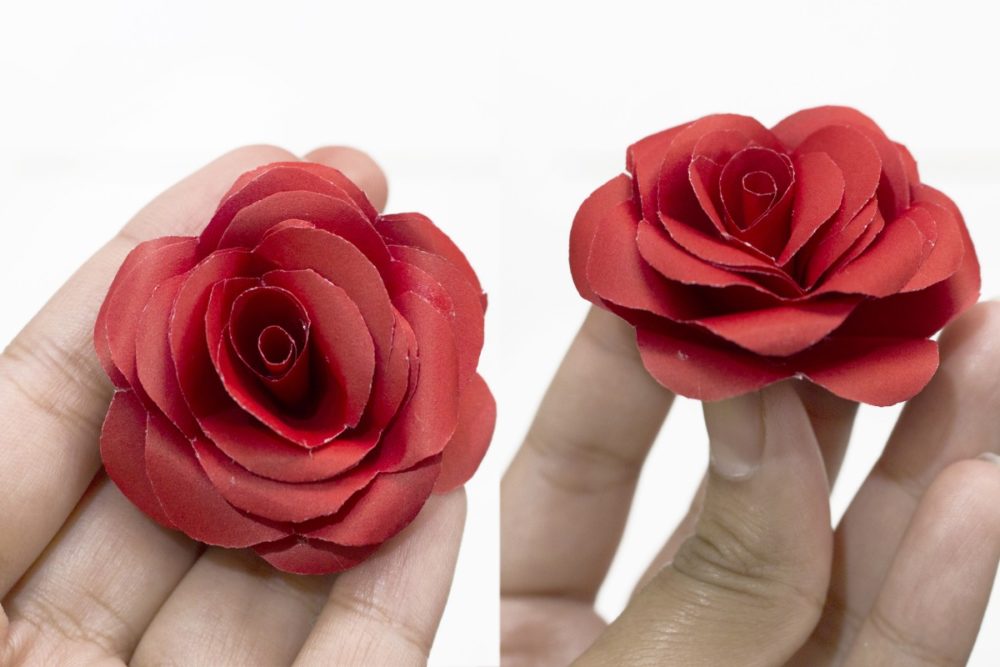
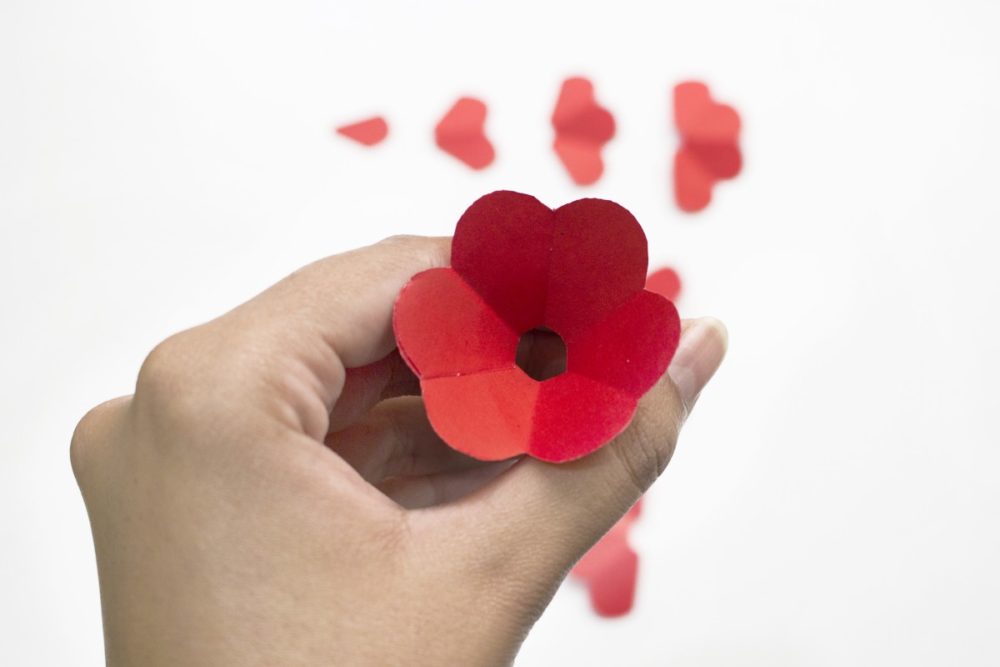
Finally, your beautiful paper rose is ready!

How I decorated for Valentine’s Day with $10:
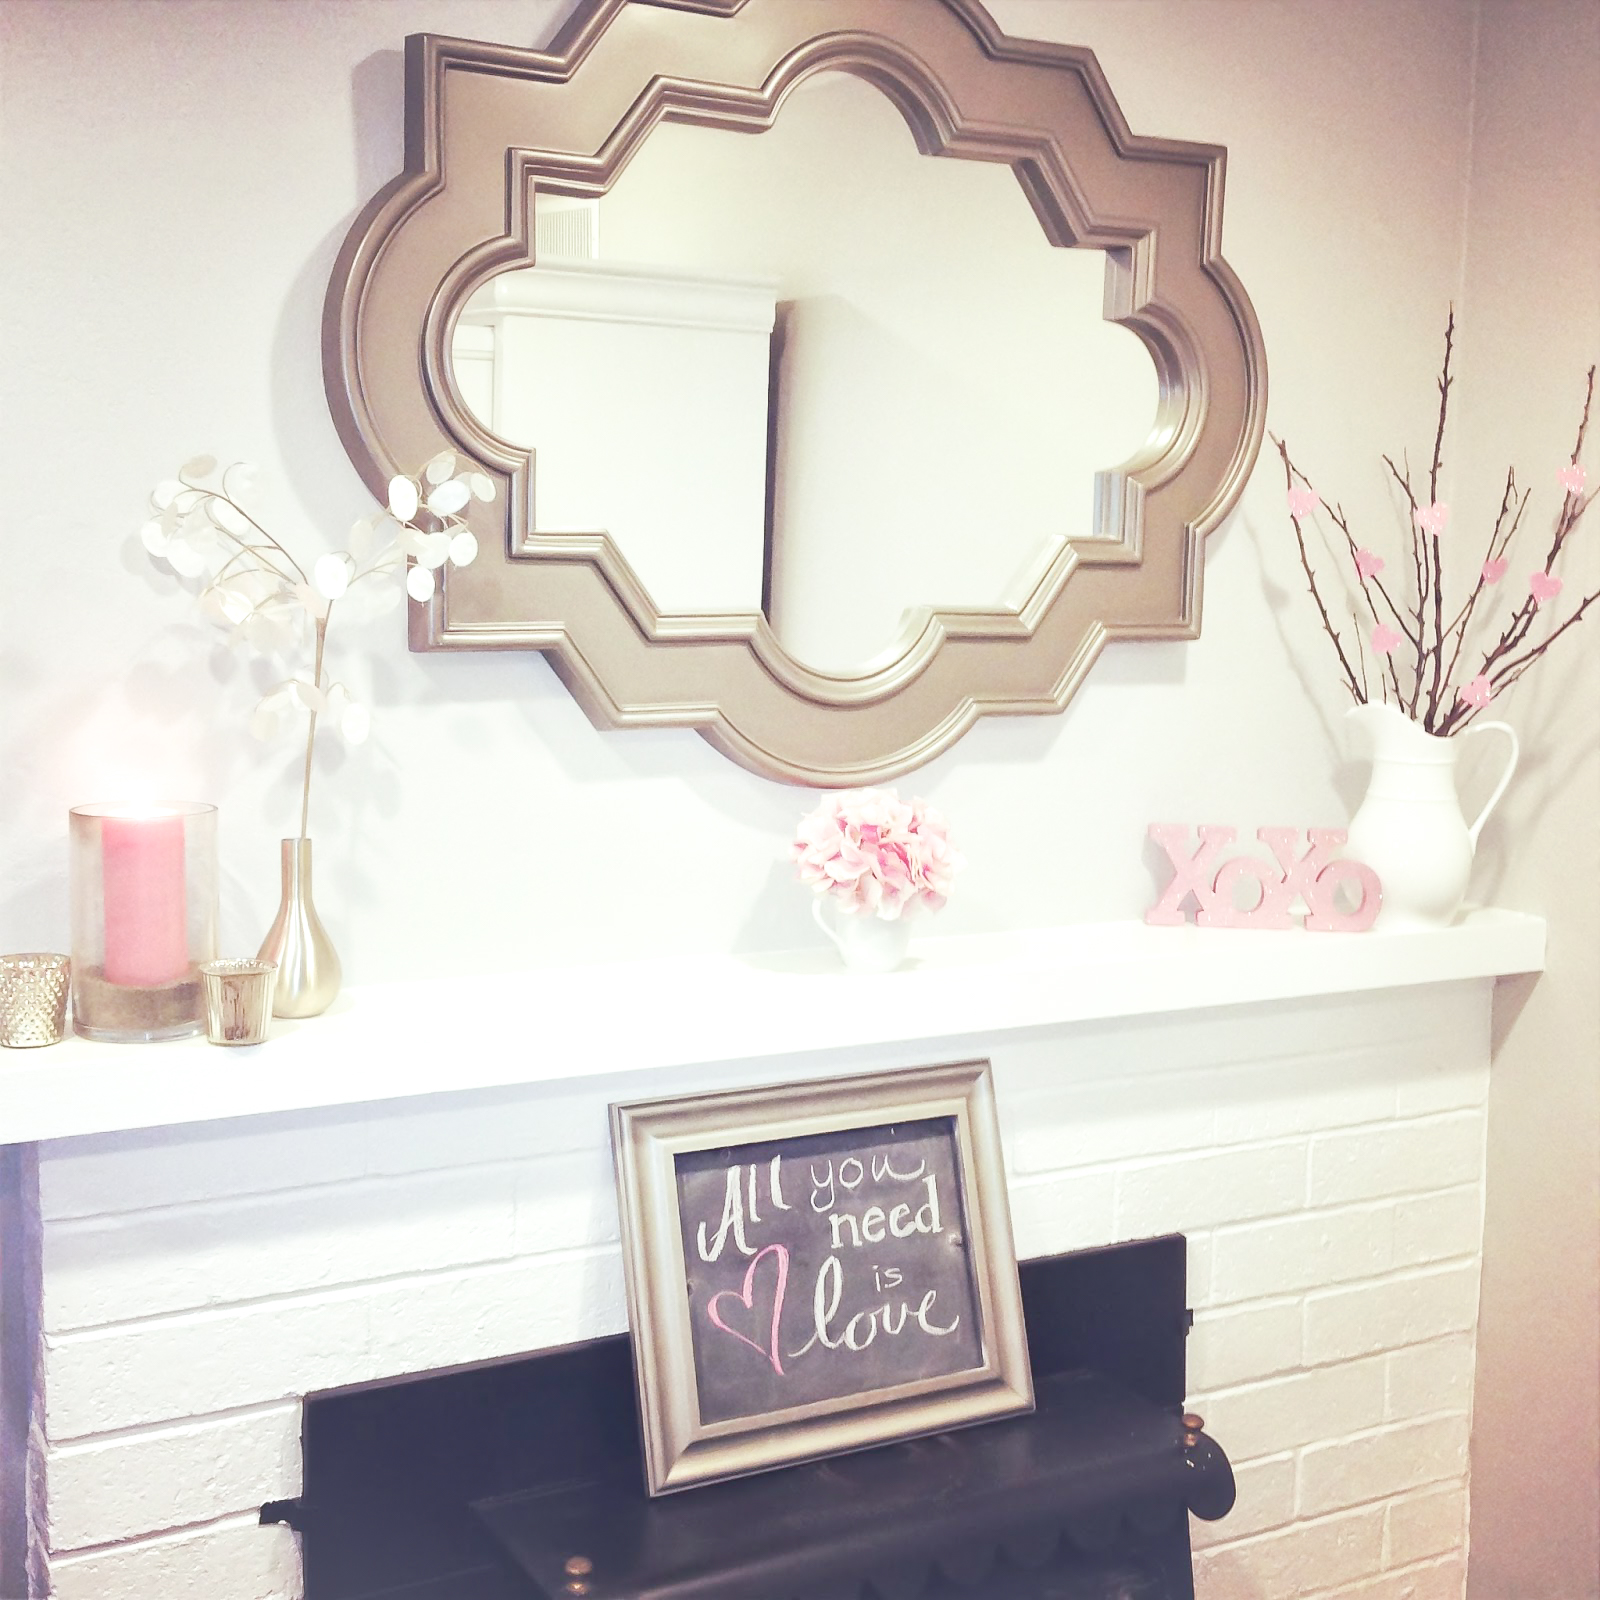
For the readers who asked about my grey mirror: This particular one was from Home Goods a few years ago, but there’s a similarly shaped Morrocan mirror here.
Cheap DIY Valentine’s Day Decorations Ideas:
I found the trick to seasonal decorating is to buy/make a few cheap items and supplement with versatile decor items from around my house (e.g. vases). I go through this same process for every holiday, which means all my decorations are inexpensive and match the overall theme of my house. So elements of my Valentine’s decorations are stolen from my Christmas decorations, taken from my Thanksgiving decorations, and . . . you get it.
See More of my DIY projects.
From left to right:
– Mercury Votives from Pottery Barn – (Reused from another part of my house) similar votives here.
– Candle – $3 (Used a 40% off coupon at Michael’s). I used some beach sand at the bottom of a cheap tumbler I already had from Home Goods.
– Framed Chalkboard – Free (Painted an old frame with chalkboard paint)
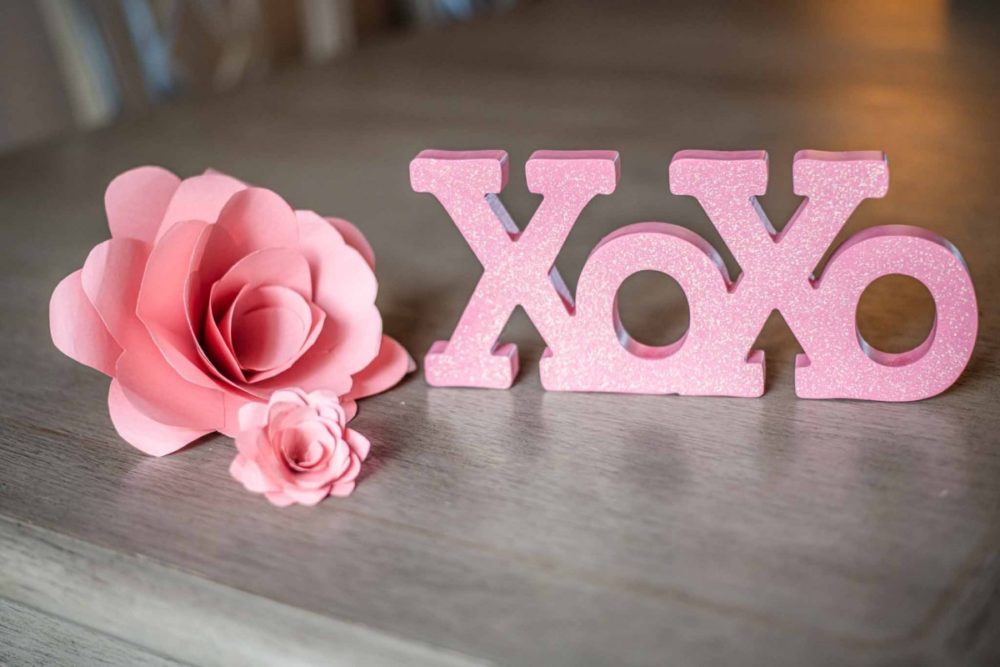
– Pink Flowers – $3 (On sale at JoAnn’s + Coupon. Although I also spotted some cute pink flowers st IKEA). Used a mug for a vase (already had).
– “XoXo” – $3 – Target “Dollar Spot” (Love that place)
– Heart Tree – $1 (Hearts from Dollar Tree or make your own with a heart punch such as this Martha Stewart Heart Crafts Punch).
– Branches – Free from my backyard. Used a pitcher as a vase (pitcher from Home Goods, similar one here).
And those are all my little secrets for Valentine’s Day decorating on the cheap! This inexpensive Valentine’s heart tree could be used to decorate a Valentine’s Day classroom party or, really, any kind of Valentine’s Day party where you want a little extra love. 💗